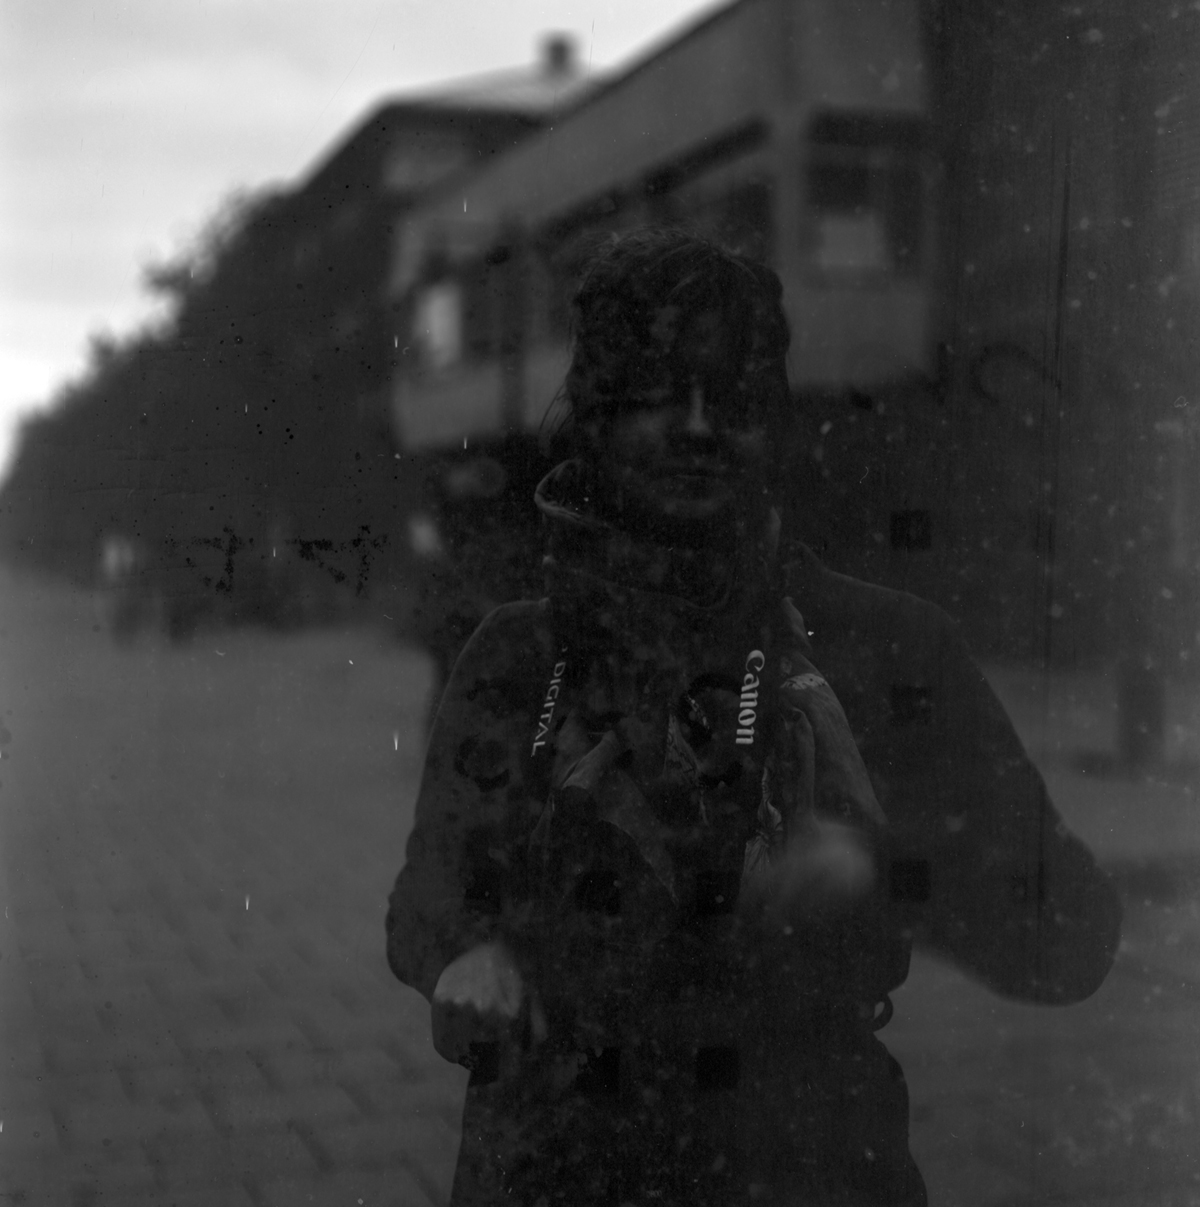
Photography in the year of 2077
It has been four years since I last posted here, and that’s pretty much how long a break I’ve taken from photography in general. The cameras gather dust on the shelves, the freezer is still full of film and the chemicals are going bad in their bottles. I’ve been busy elsewhere.
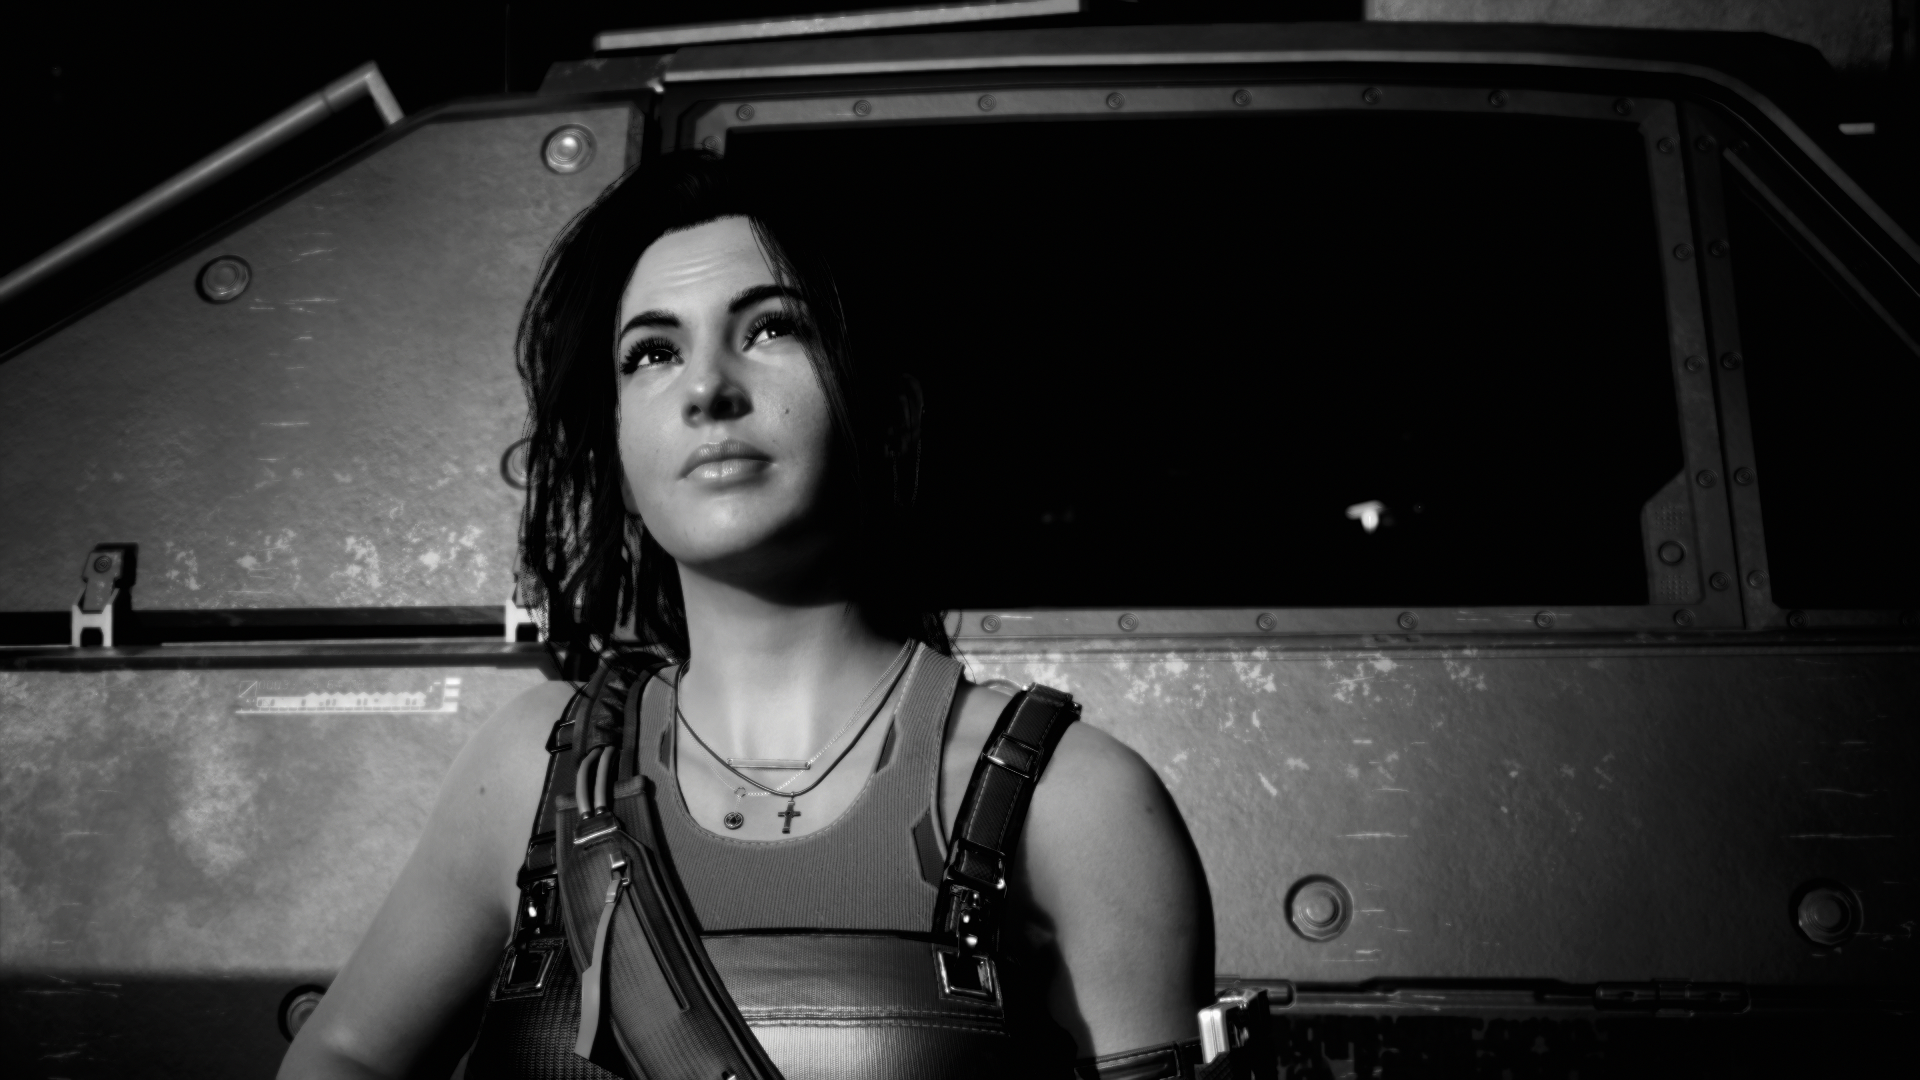
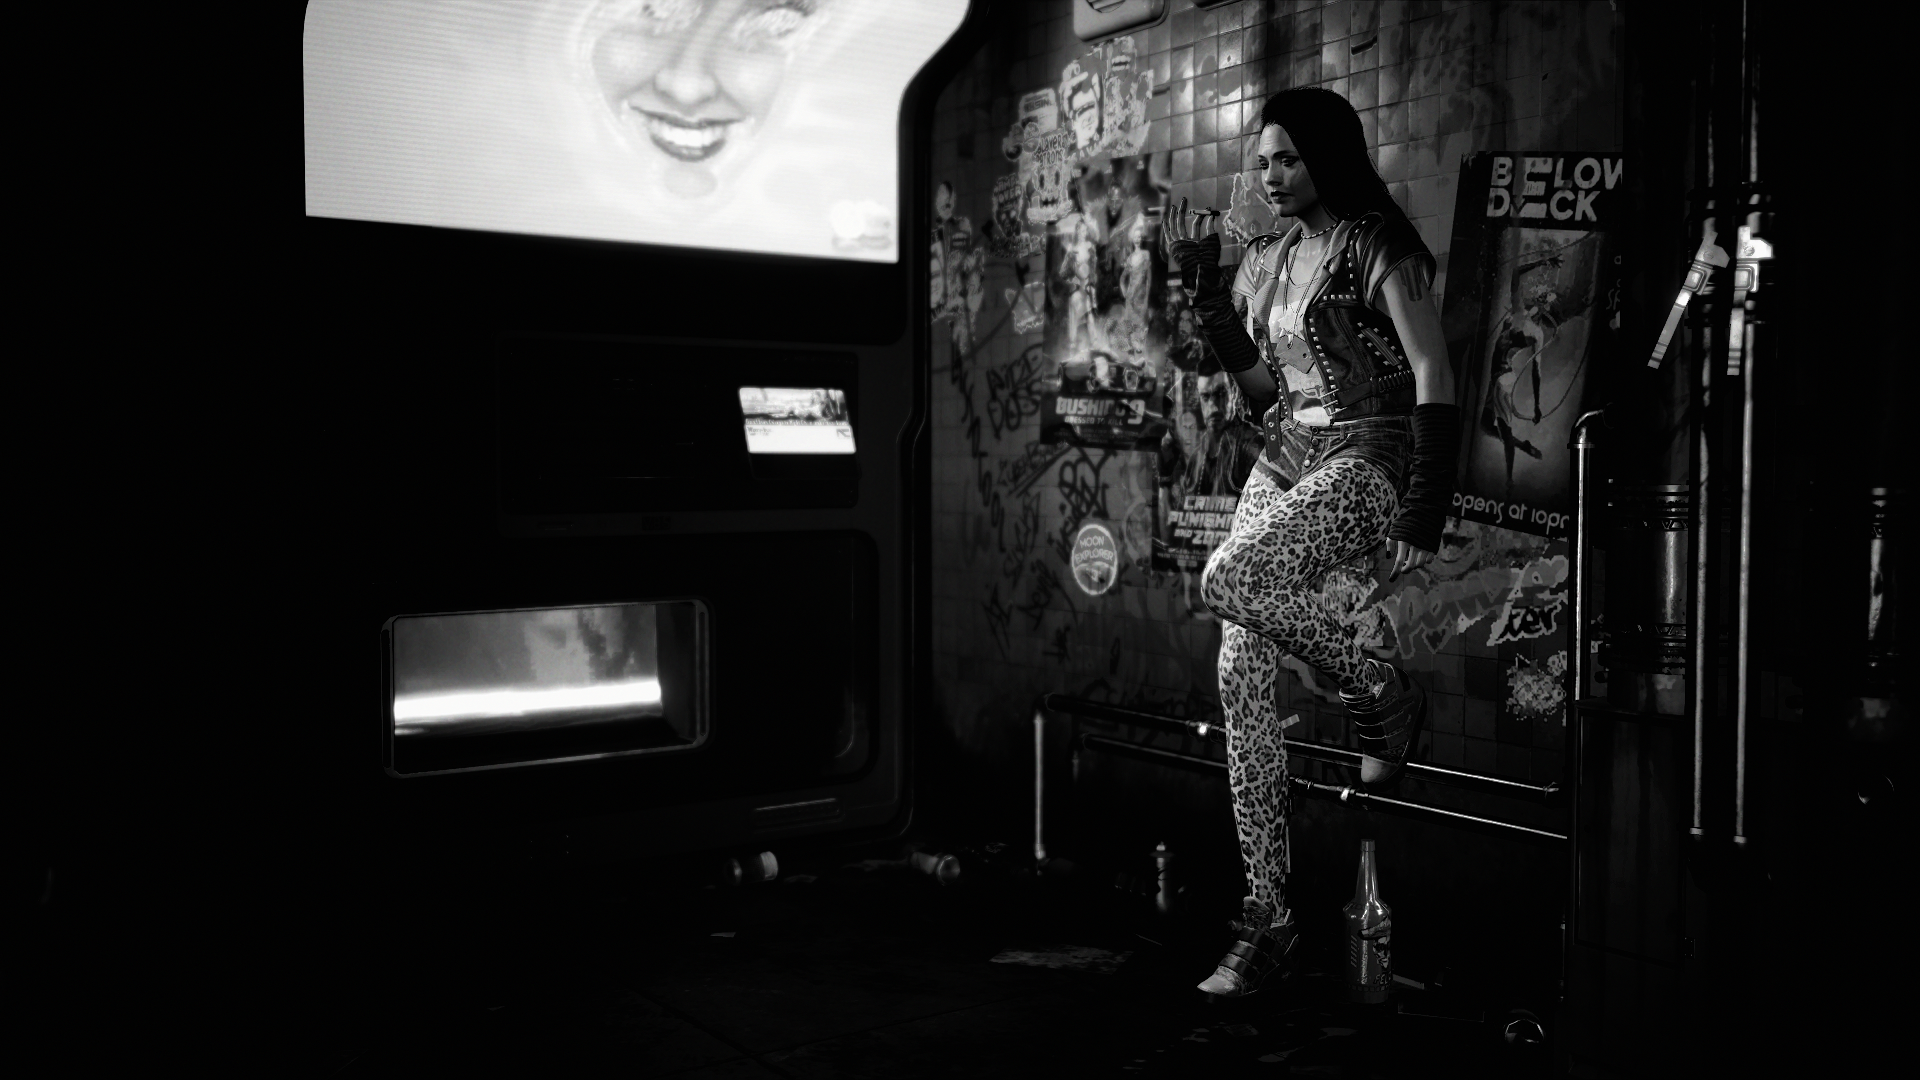
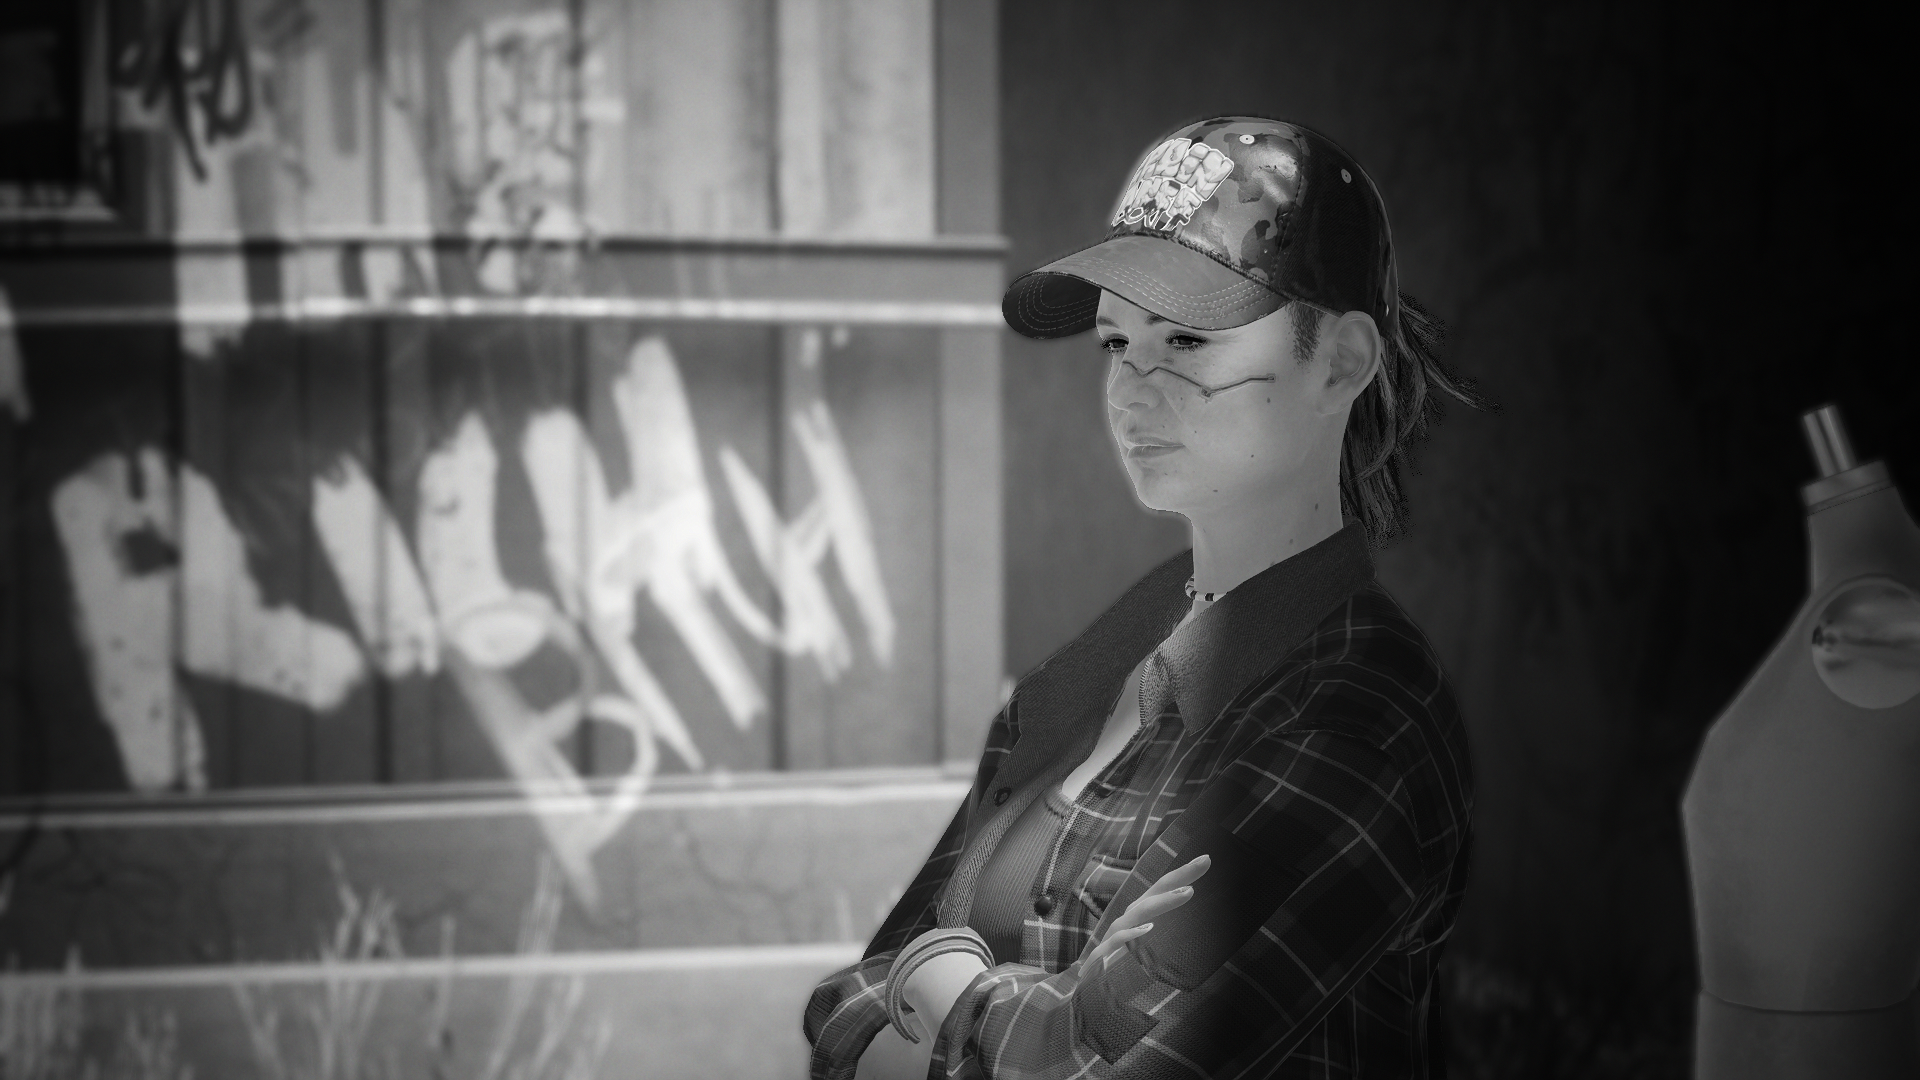
The last week or so I’ve been playing the recently released video game Cyberpunk 2077. The game has a photo mode which allows the player to take stills of the scene and do some very rudimentary photo editing. So while I played the game, I also played photographer again. It’s pretty good looking, but still, on an older PC such as mine, it will look like an older game. The results are not outstanding, having a better graphics card than my GeForce 1060 would probably help a bit on the image quality front. But if we lean back from the screen a bit to let the pixels blend together, we see a future of digital photography where we don’t even have to leave our homes to do street photography.
I would say that the images below are spoiler free for those who would consider playing the game themselves. All manipulation was done inside the game’s own photo editor.
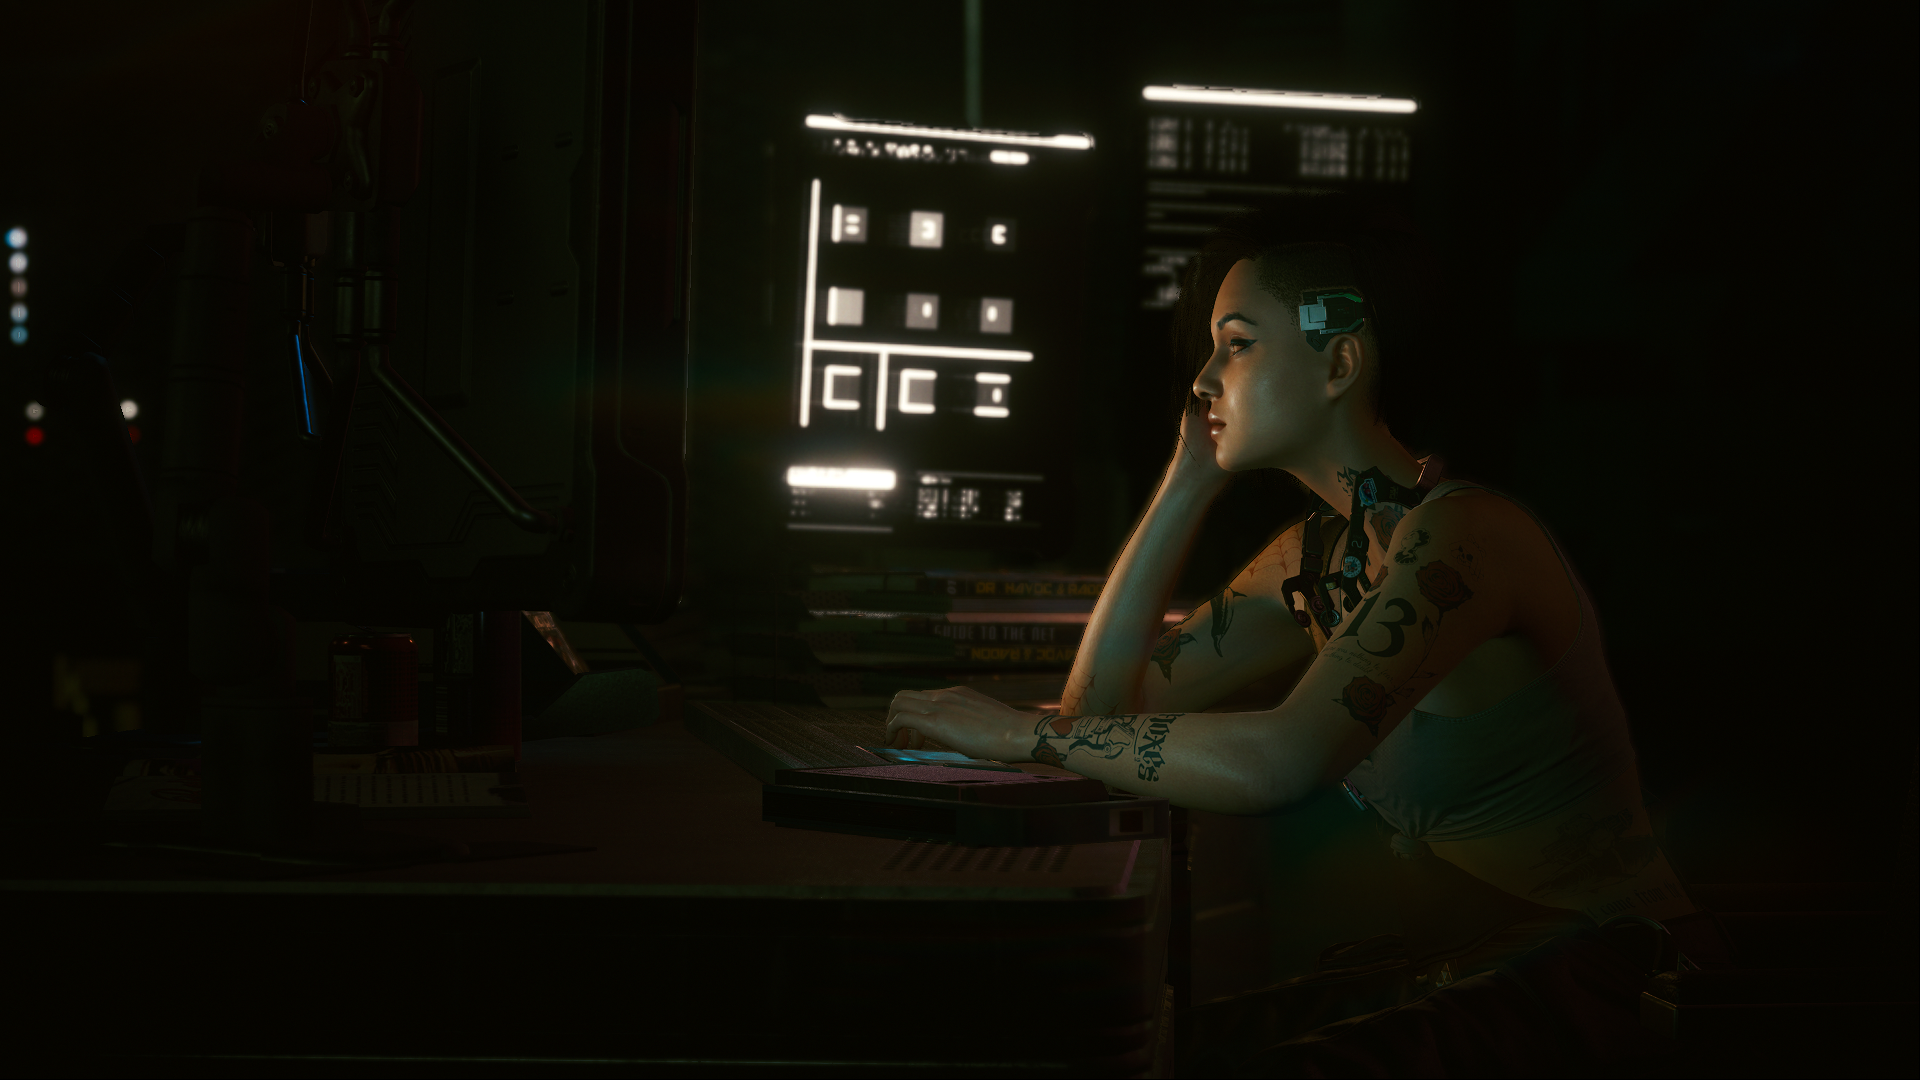


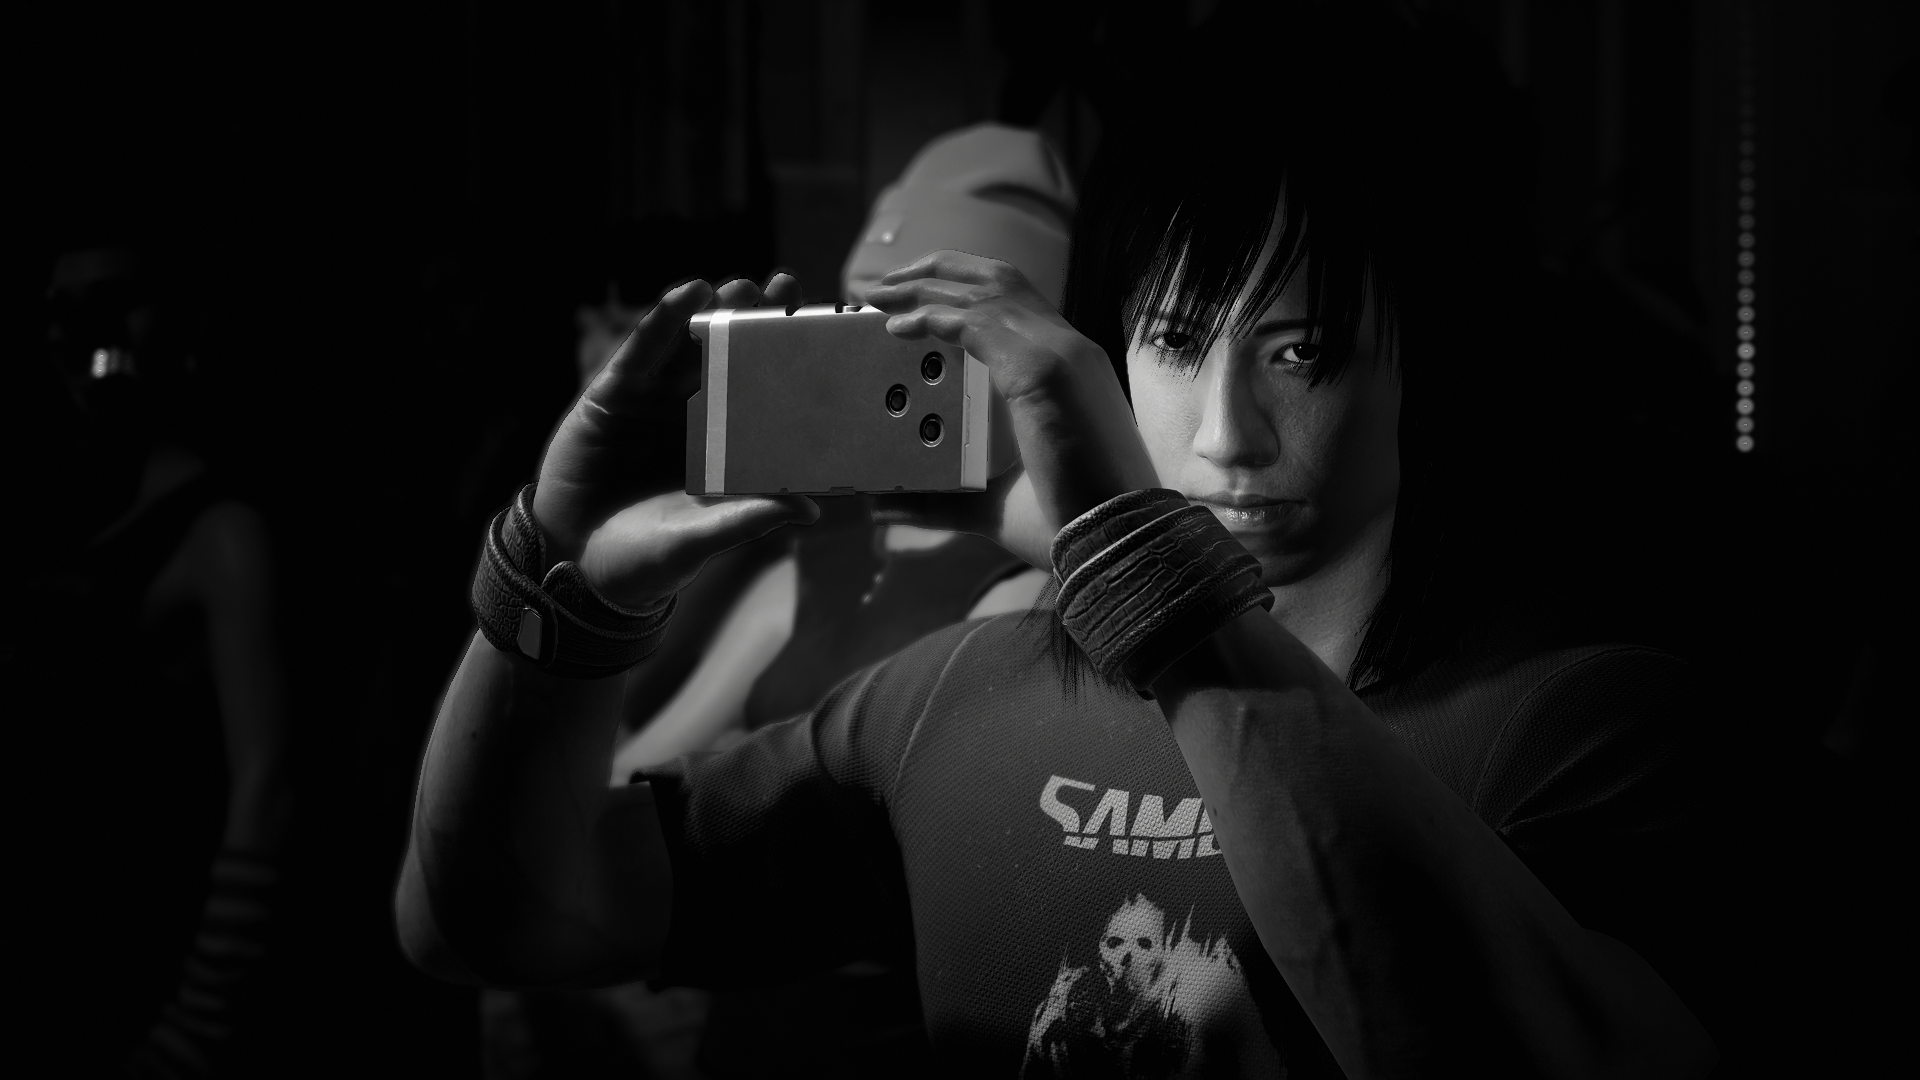
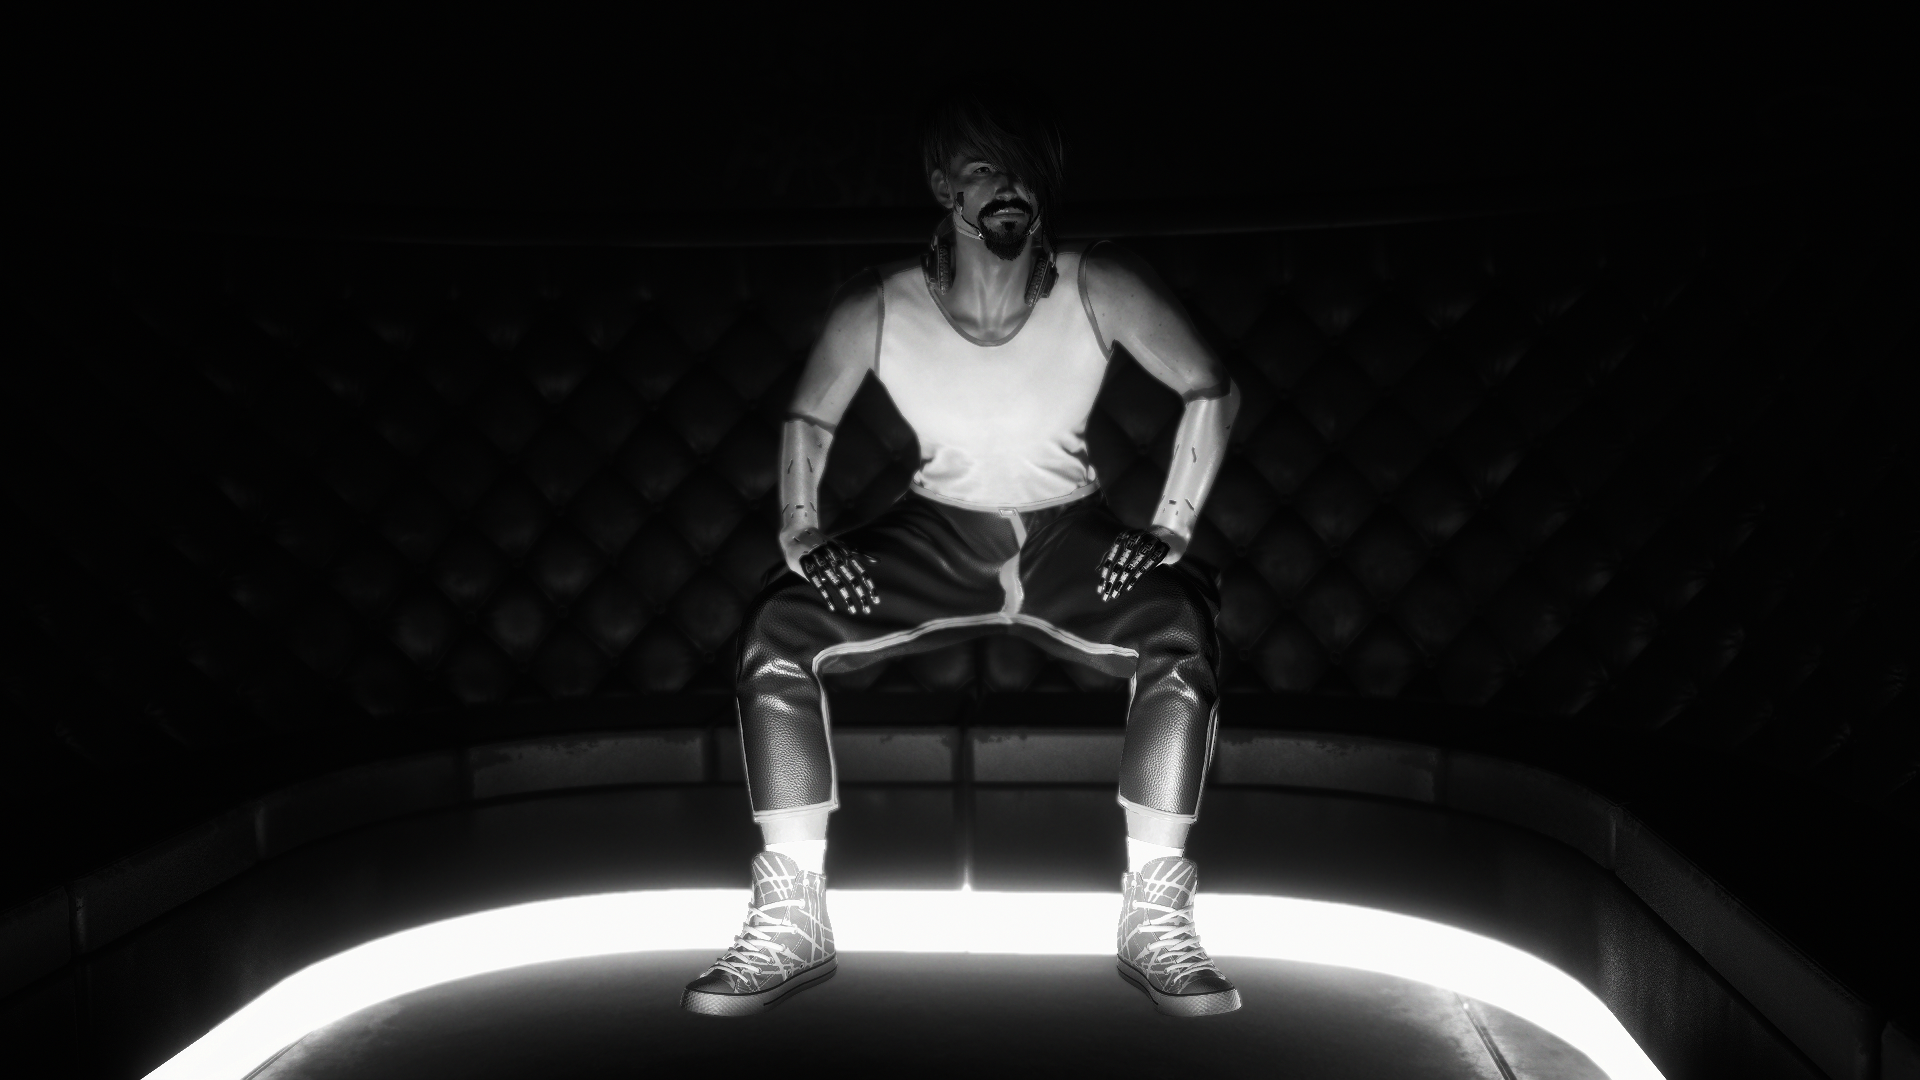
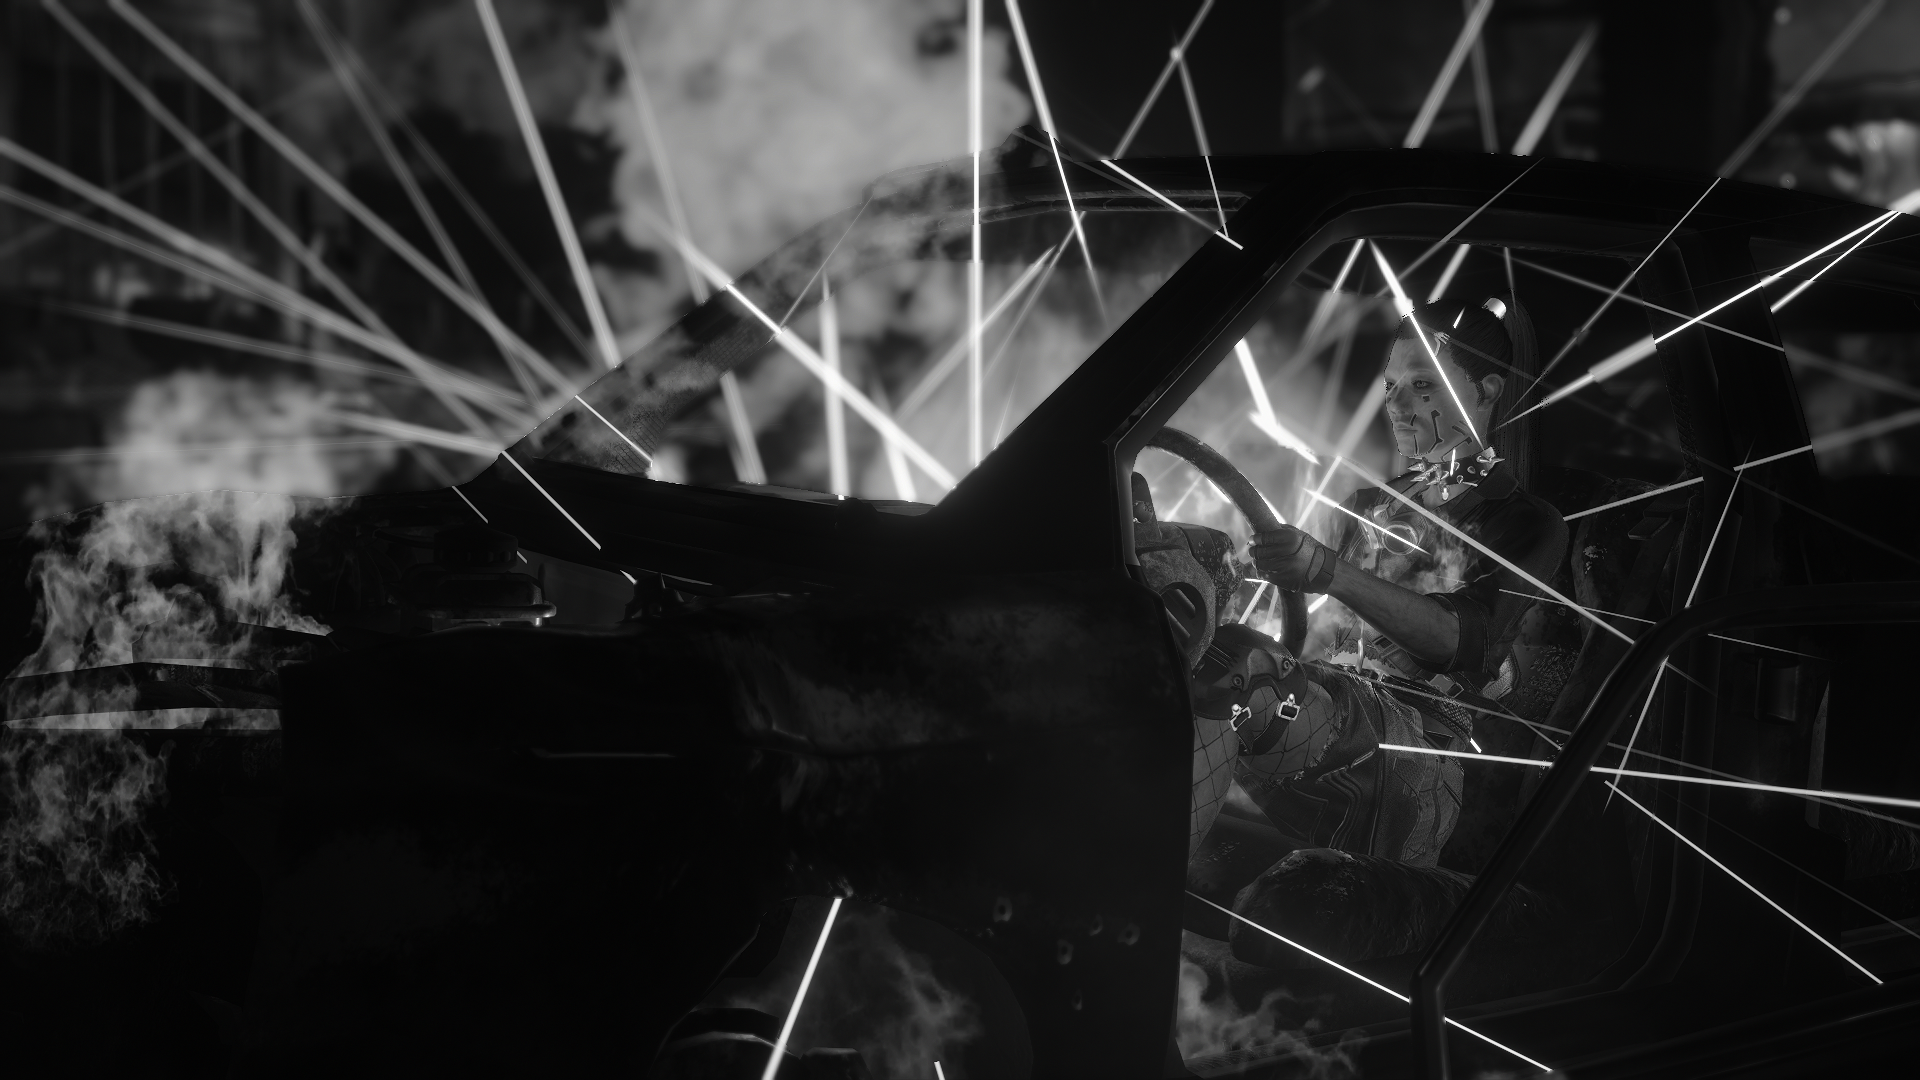

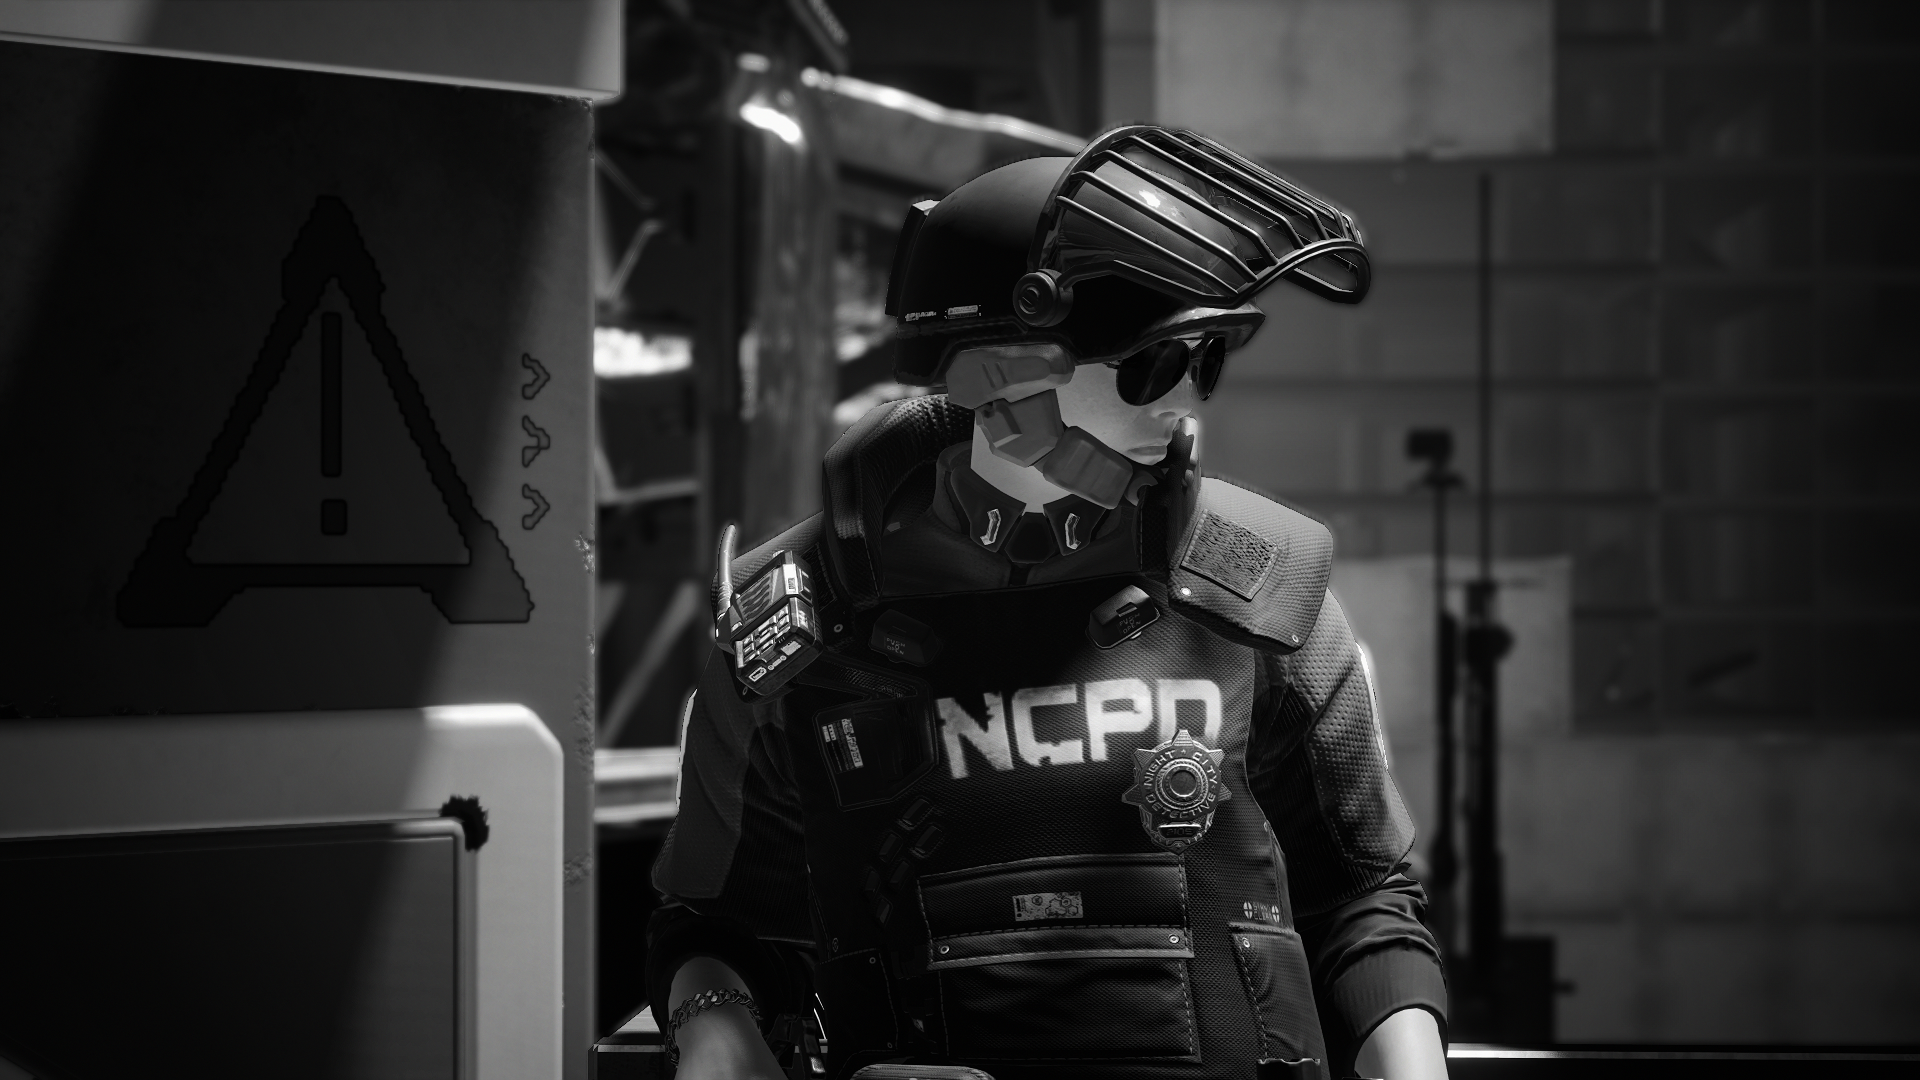
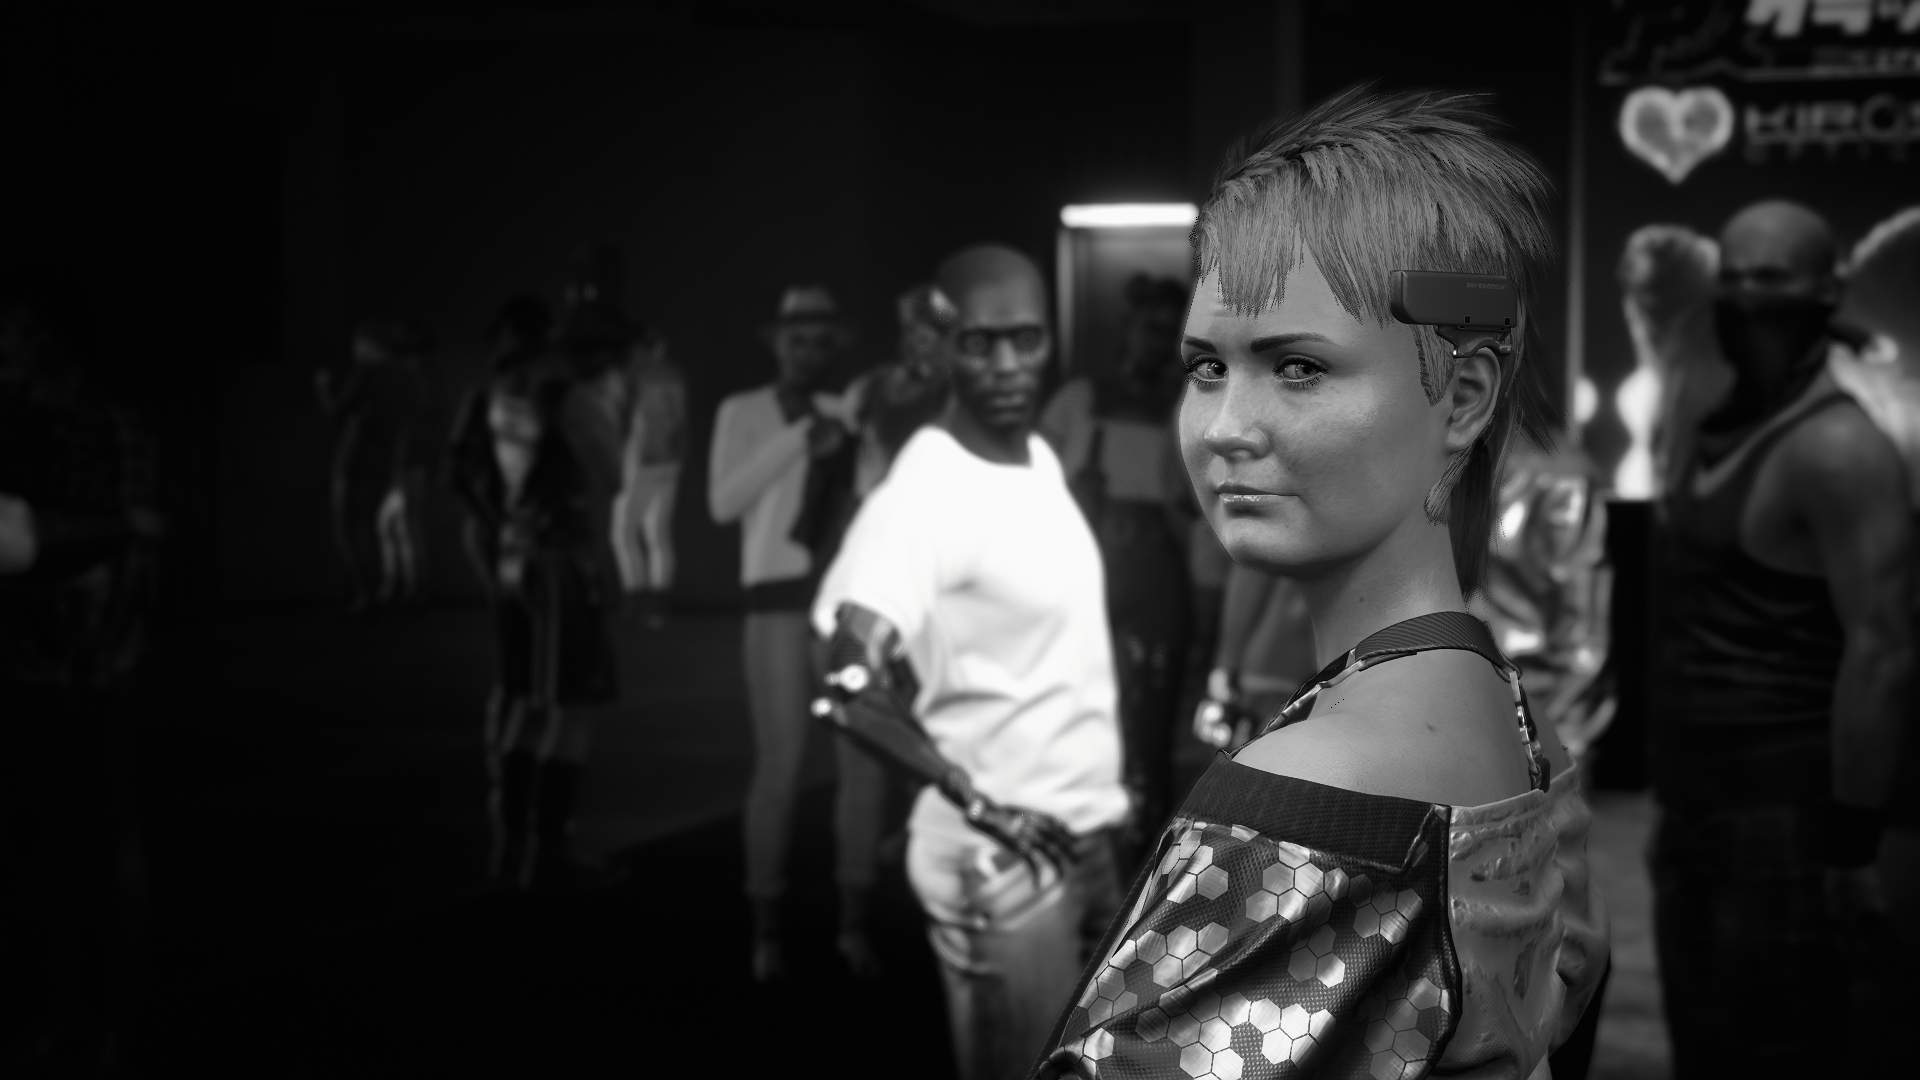
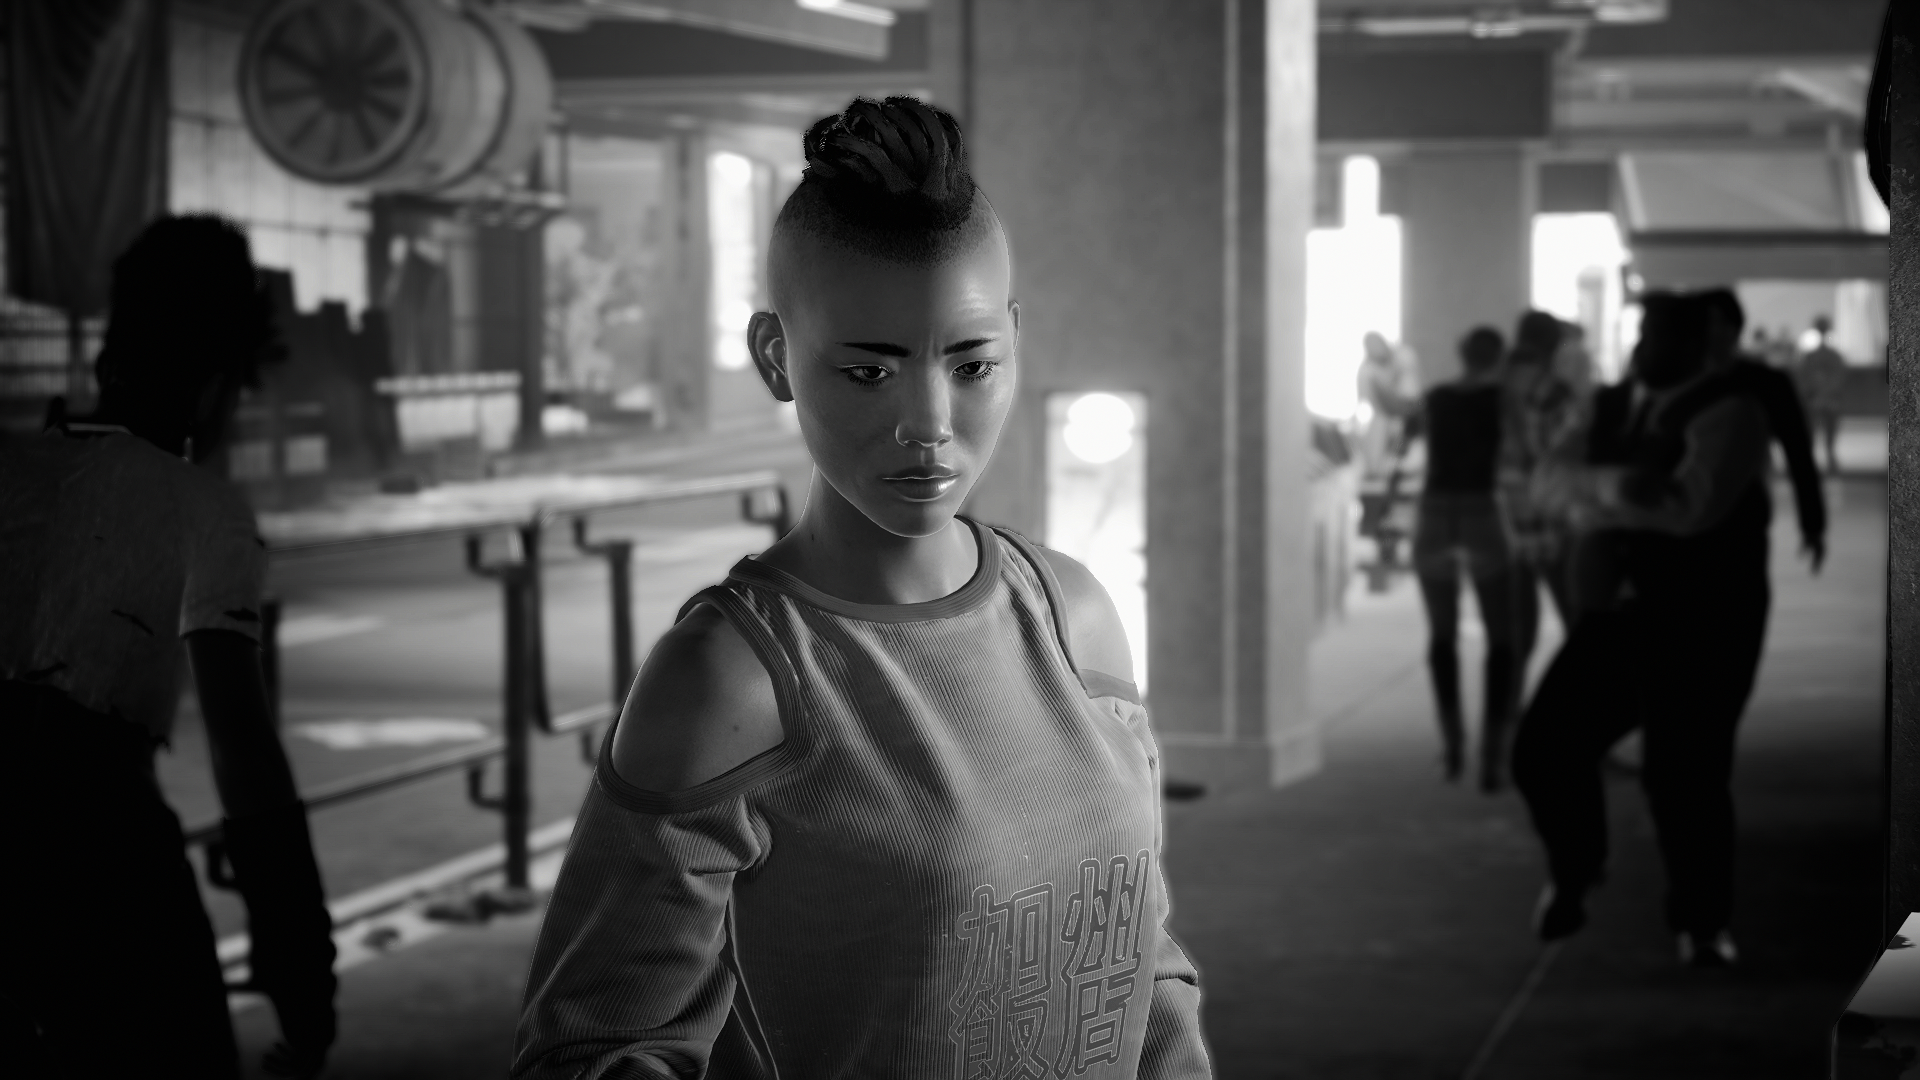
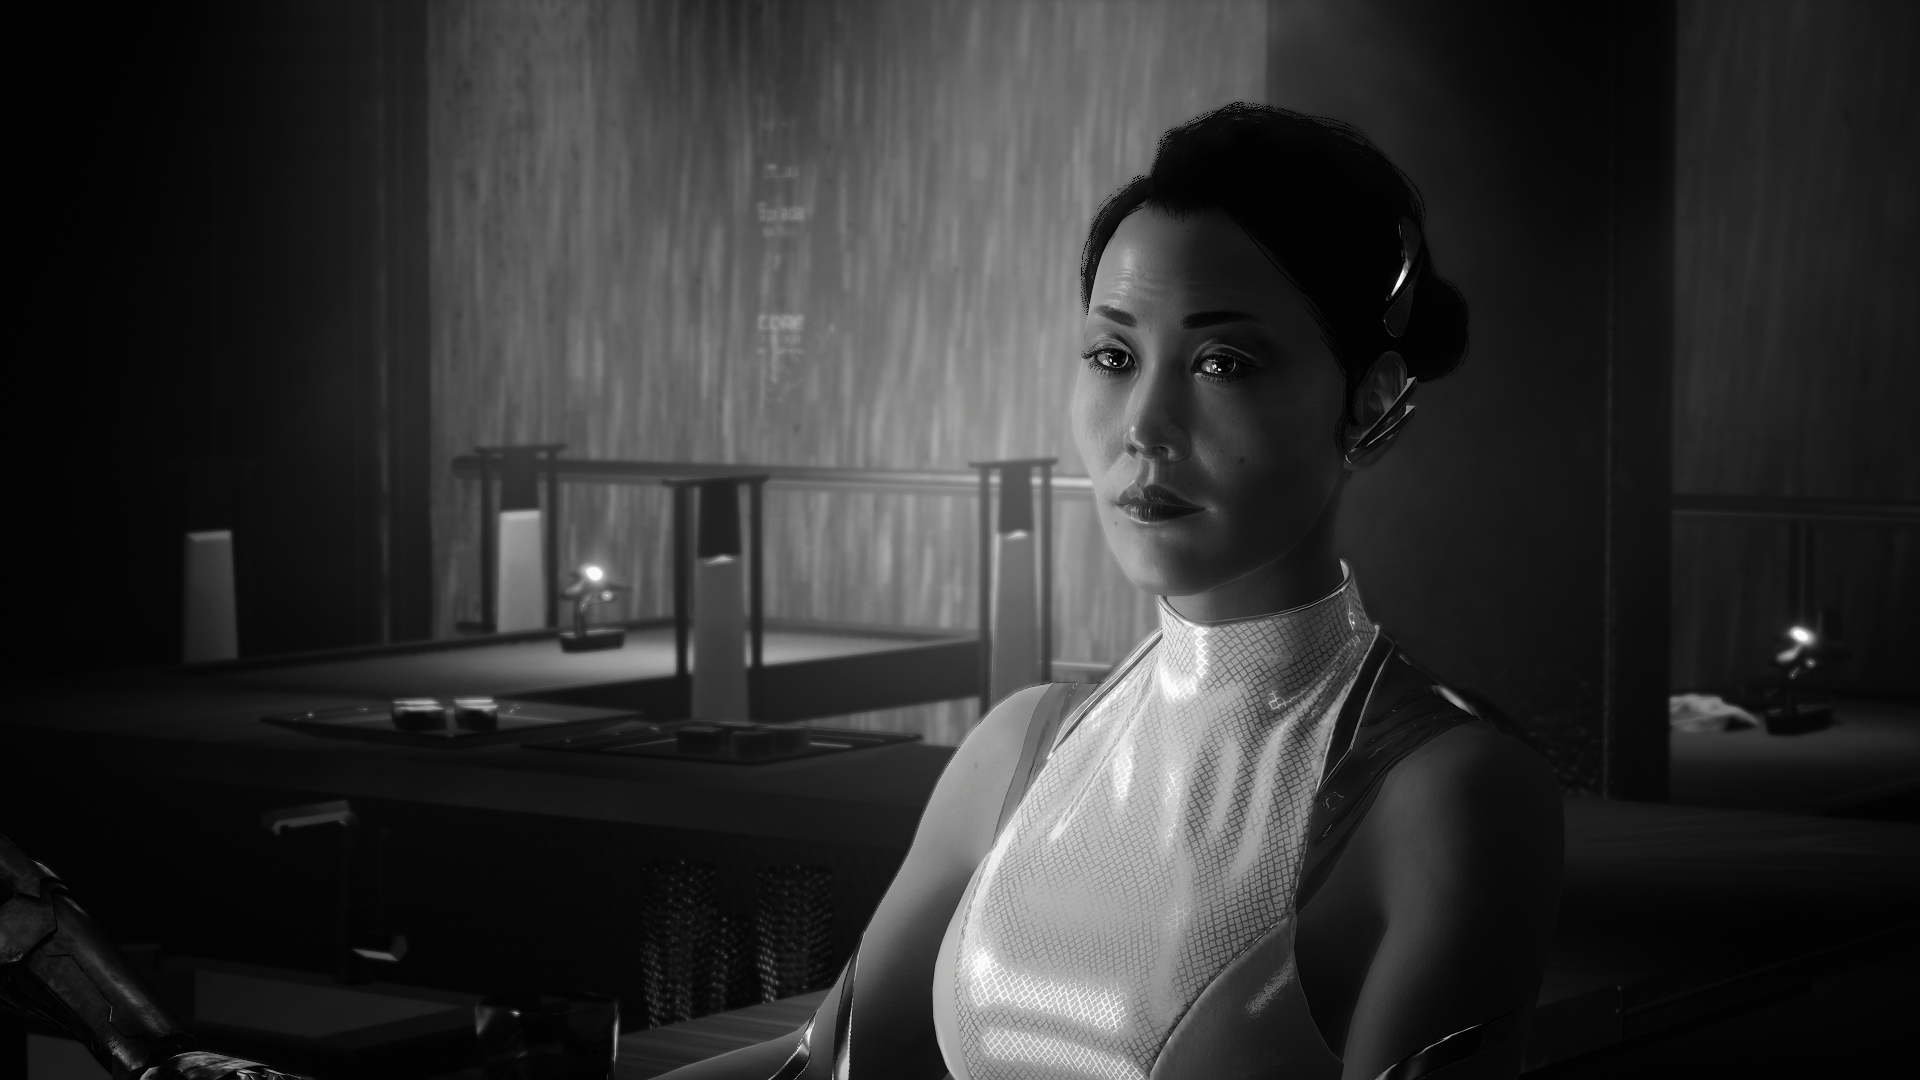
The camera controls aren’t very fast and easy to use, composition has some strange and sometimes infuriating limitations (like that it’s impossible to tilt the camera into portrait mode). The bokeh isn’t very nice at all, and the whole concept of depth of field looks good enough when you play the game, but when you stop to look more closely it falls apart. Scroll back to the picture of the burning car above and you’ll see what I mean.
For now I’ll let the game sit for some time, I’ll wait for the modding community to release some tweaks to make the rendering of the scenes more life like, and maybe there’s a modder out there somewhere who’ll tweak the in game camera a bit to make playing “Photographer in the year 2077” more rewarding.
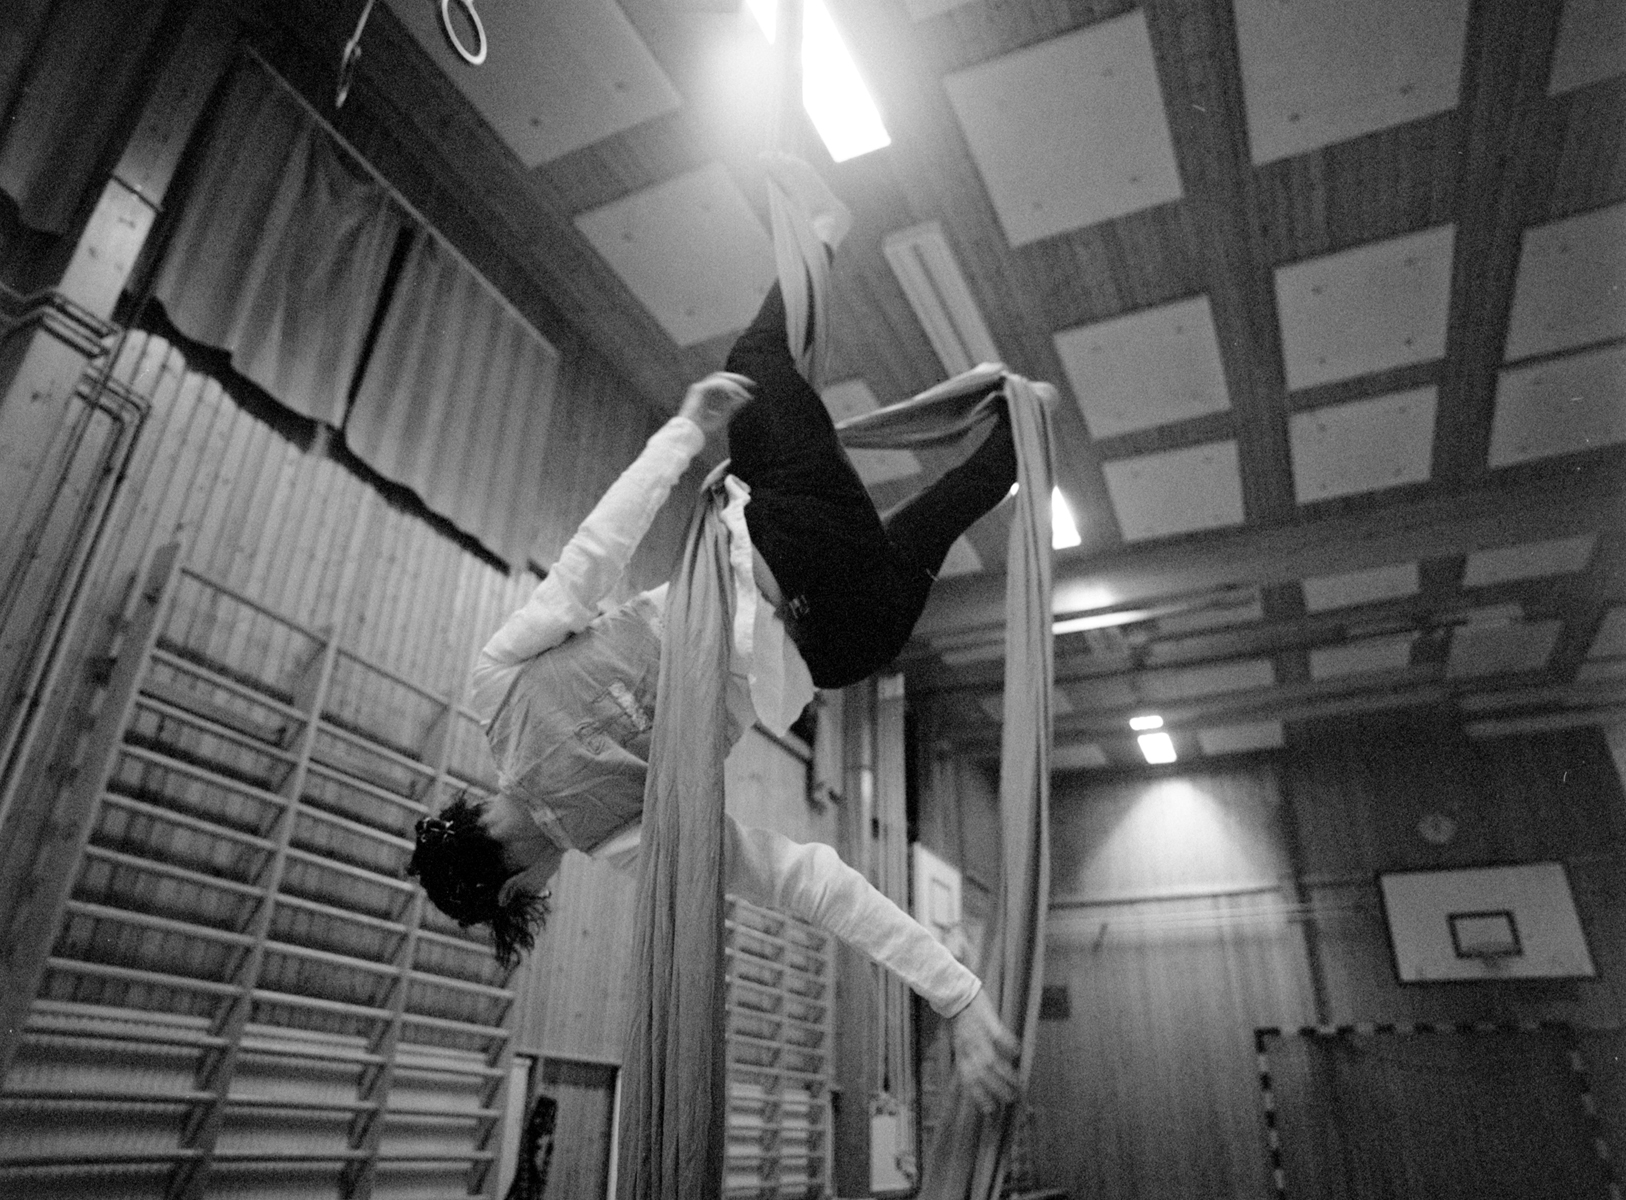
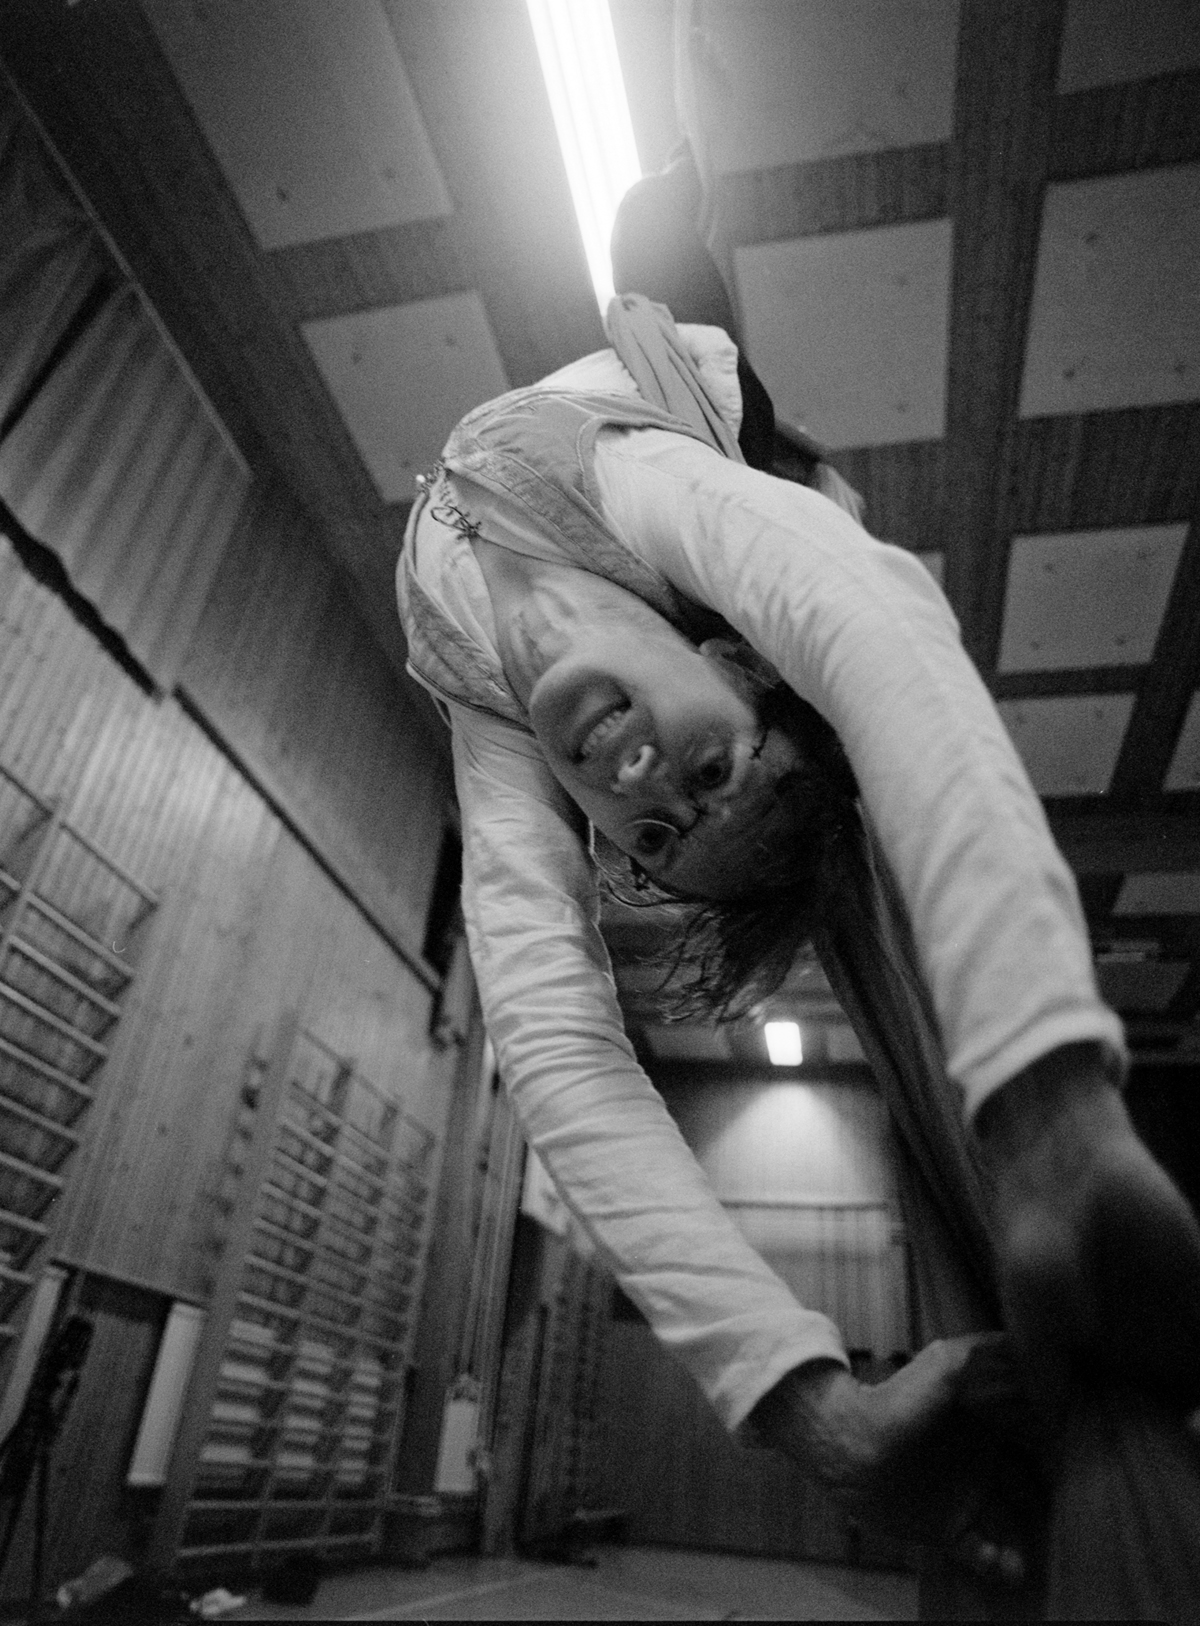
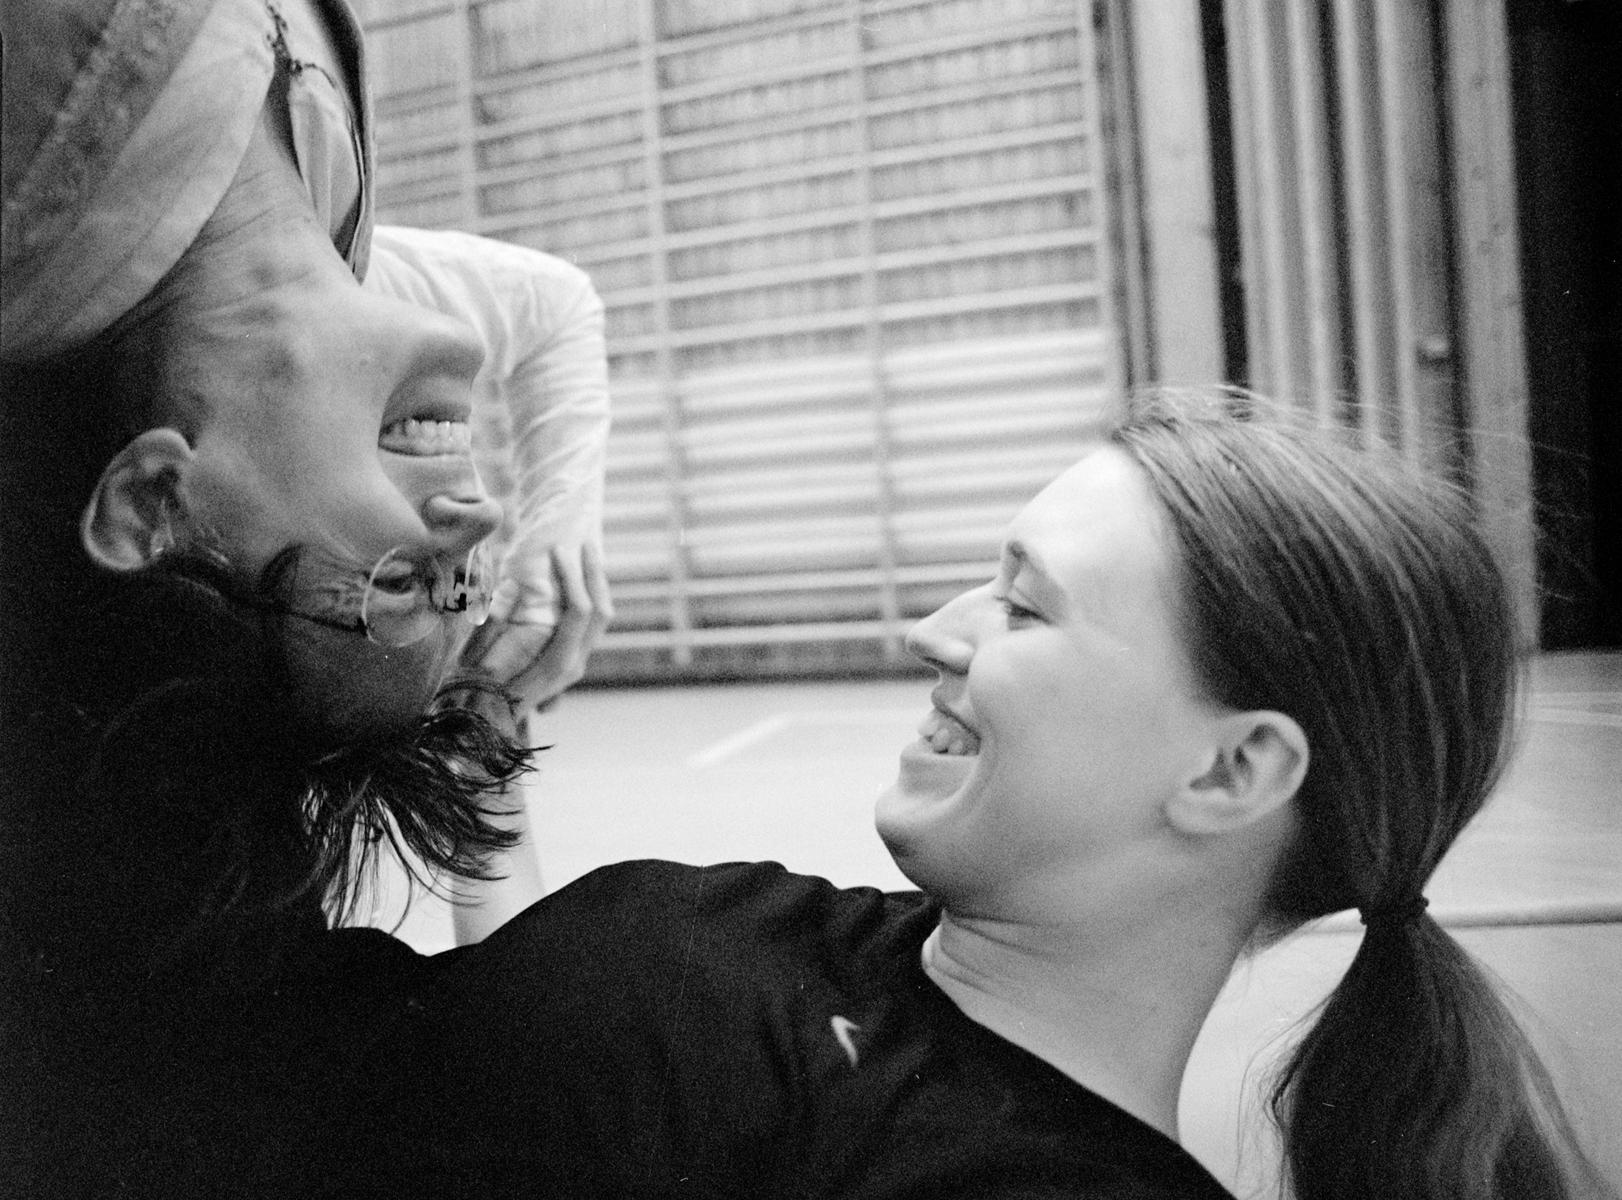
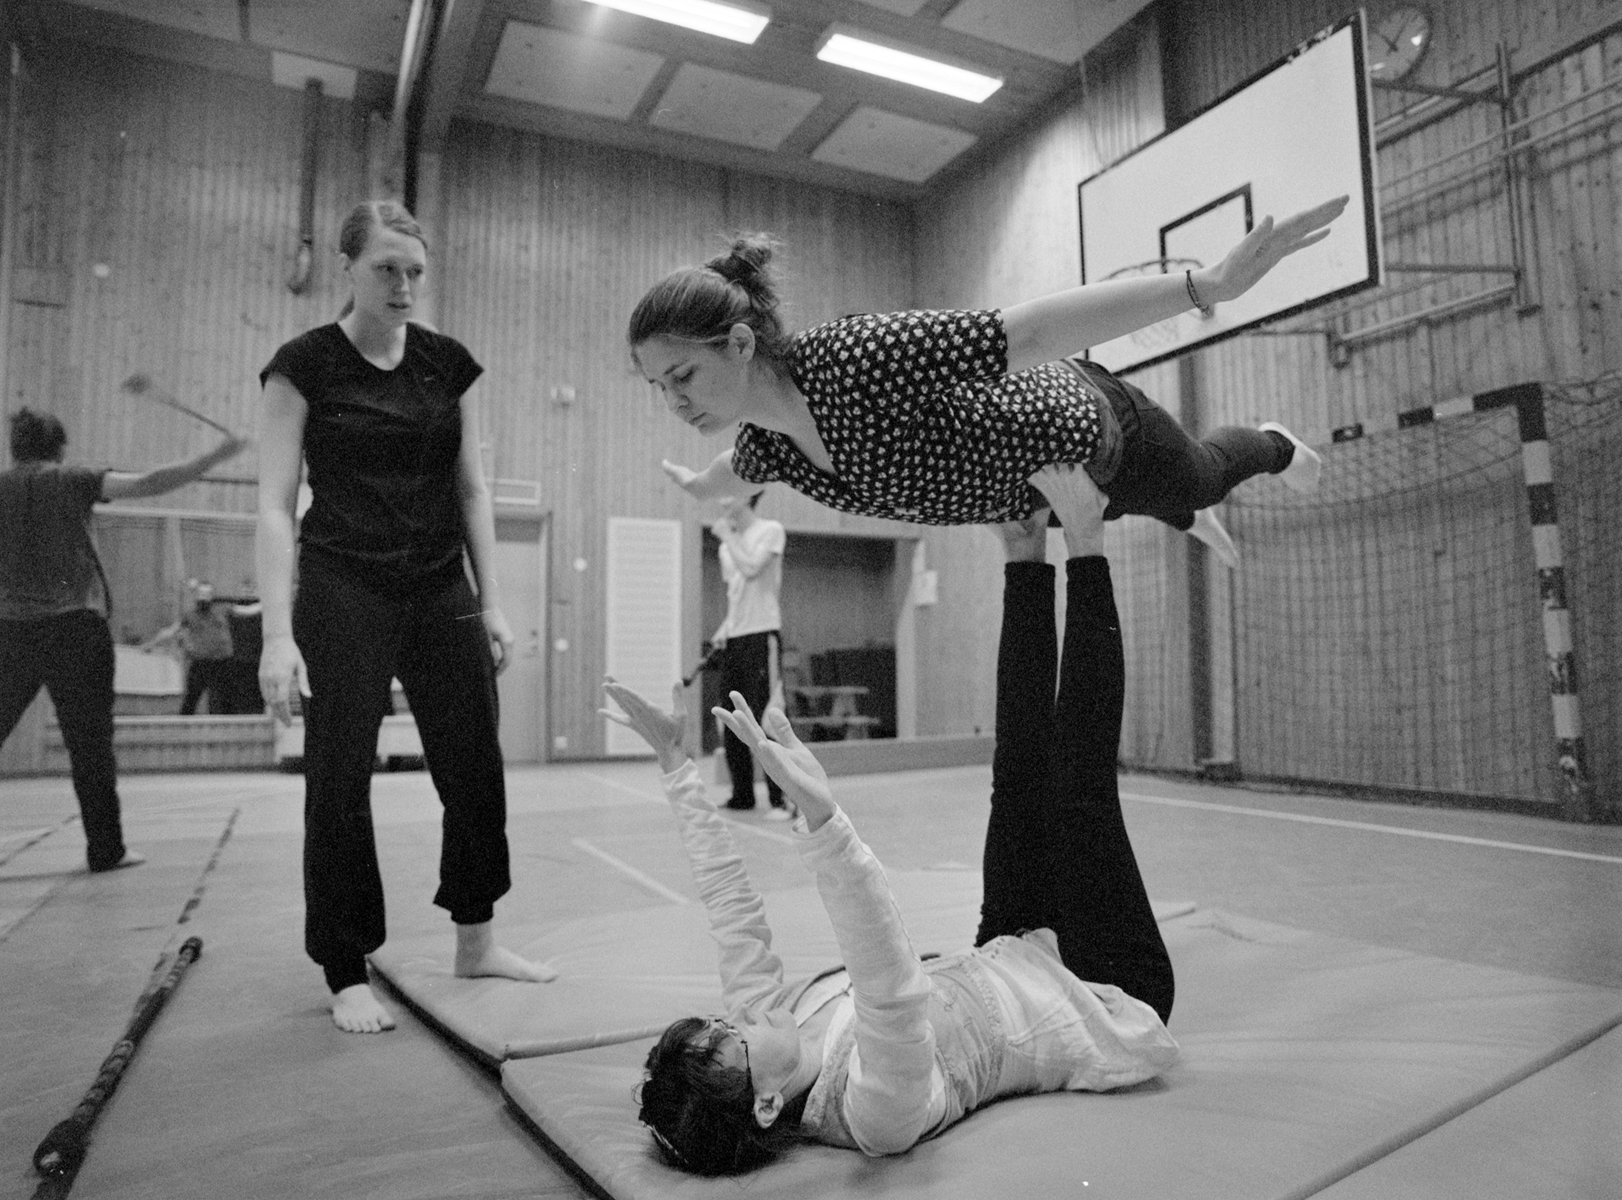
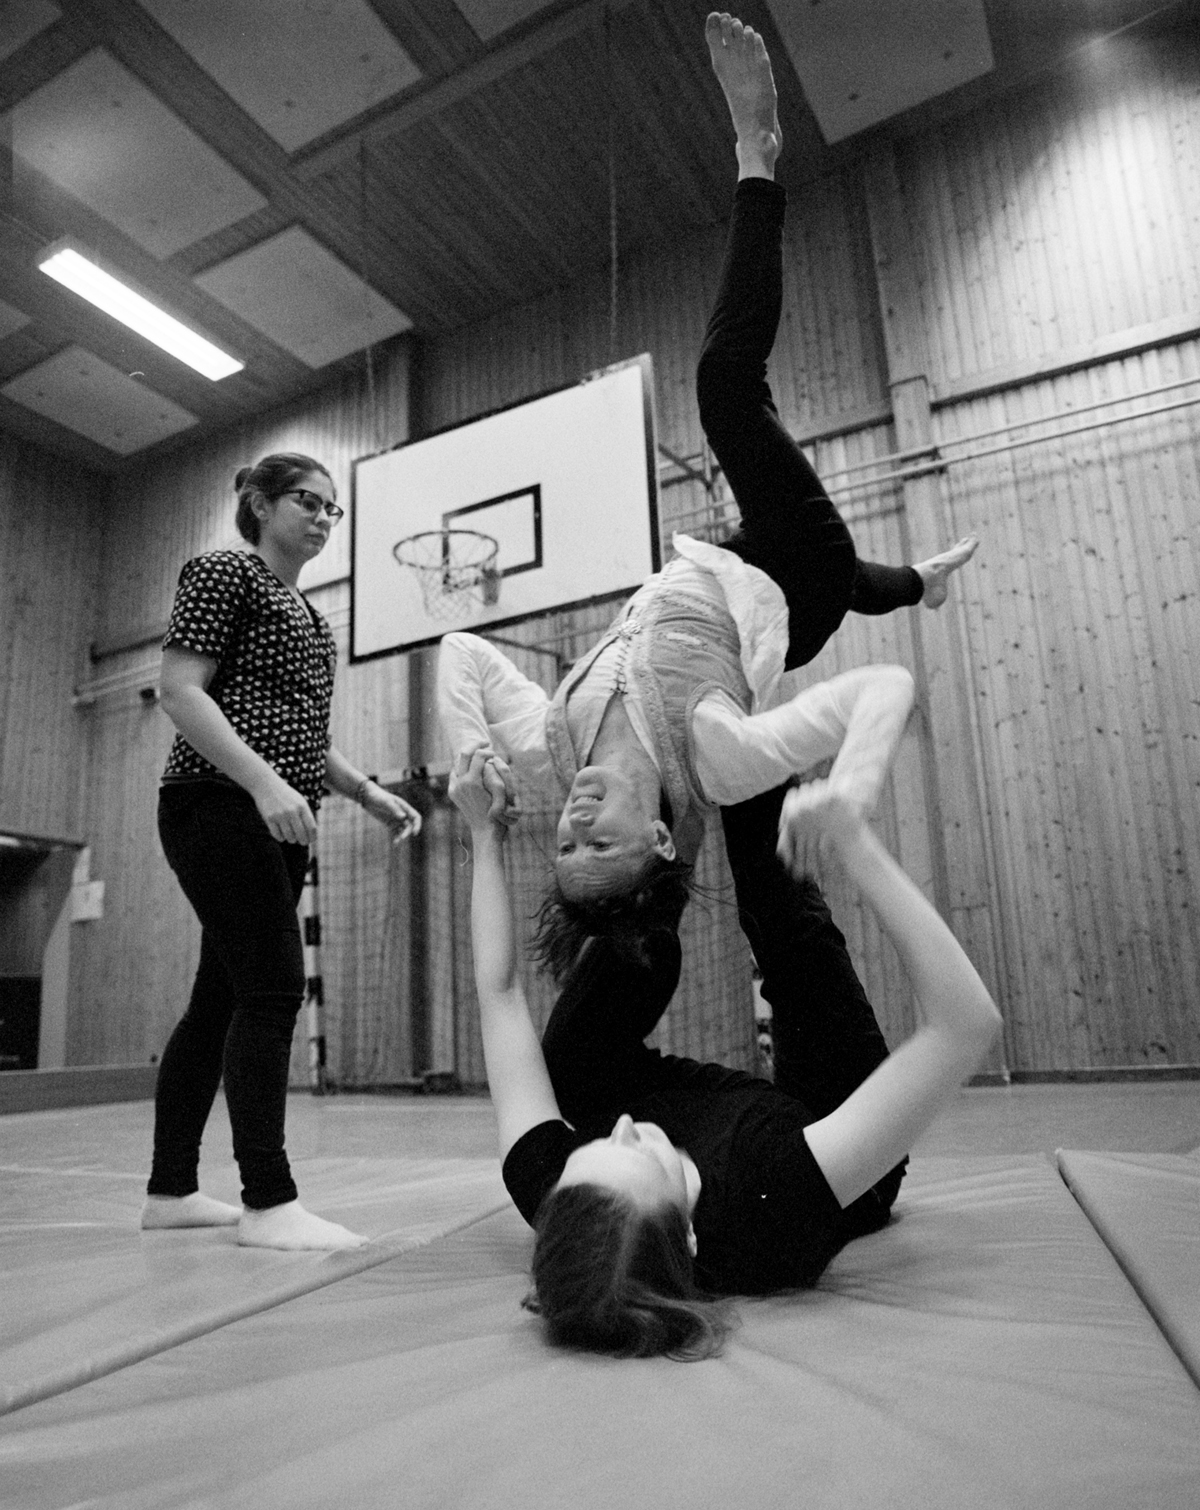
Roll 397 and 398 Return to the Acrobats Part 2
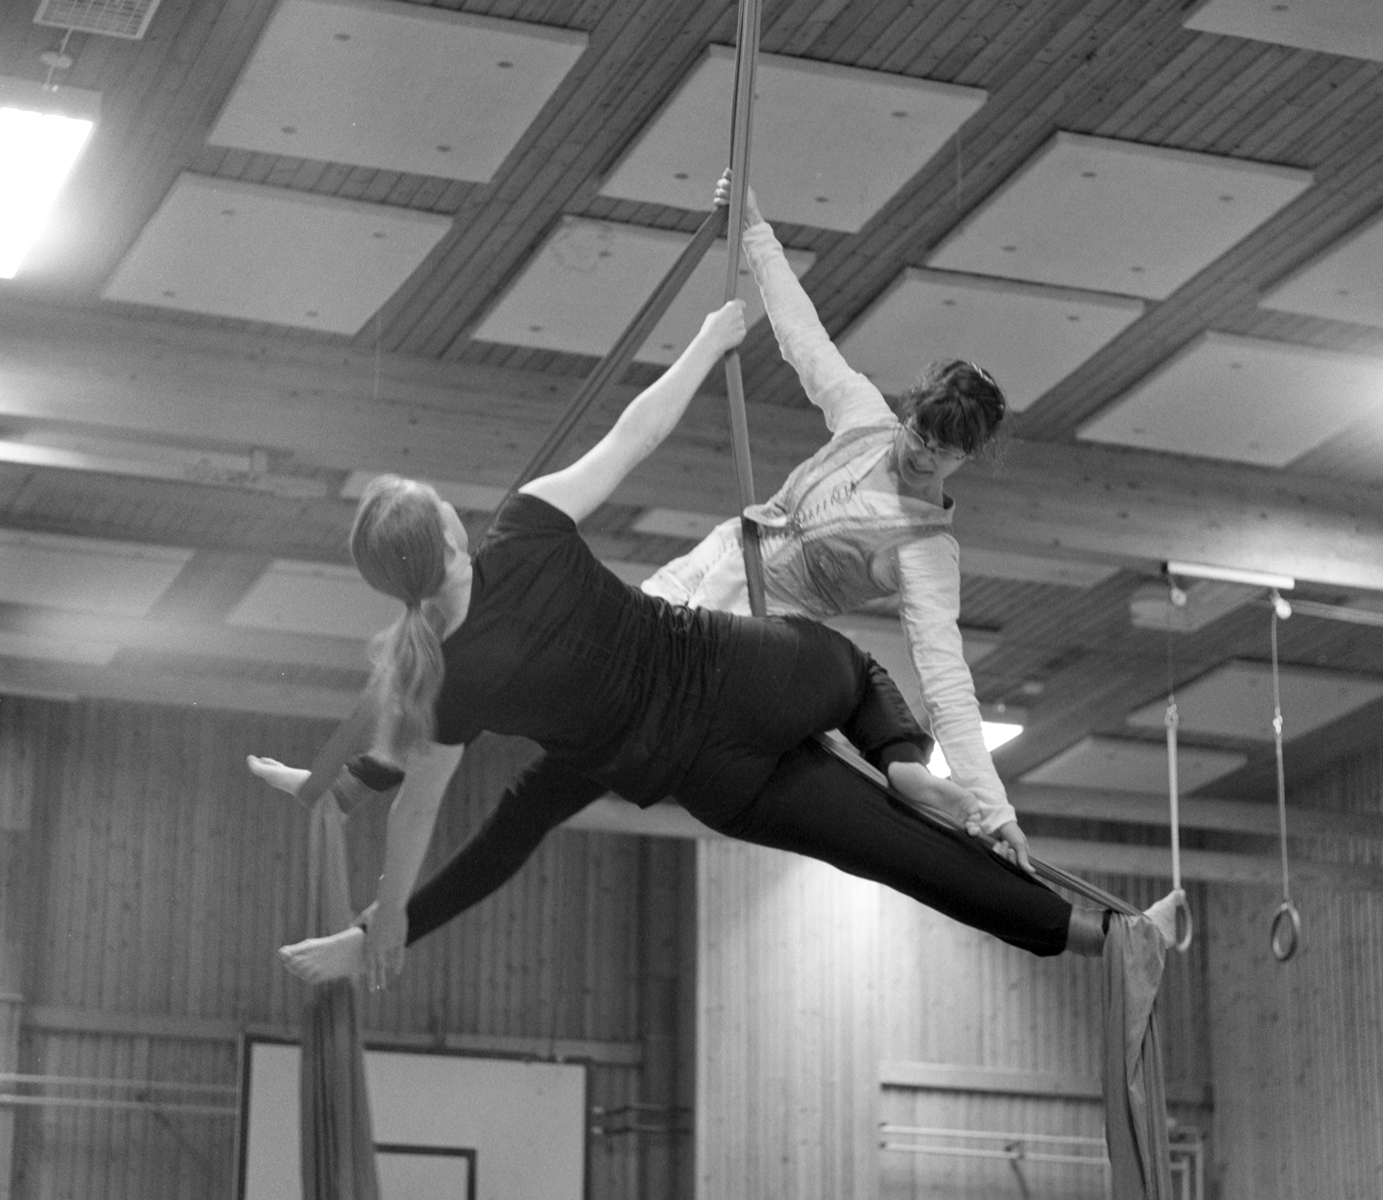
Rollei RPX 400 in HC-110 1+50 for 12min at 20C.
Rollei RPX 400 in HC-110 1+50 for 12min at 20C.
Rollei RPX 400 in HC-110 1+50 for 12min at 20C.
Rollei RPX 400 in HC-110 1+50 for 12min at 20C.
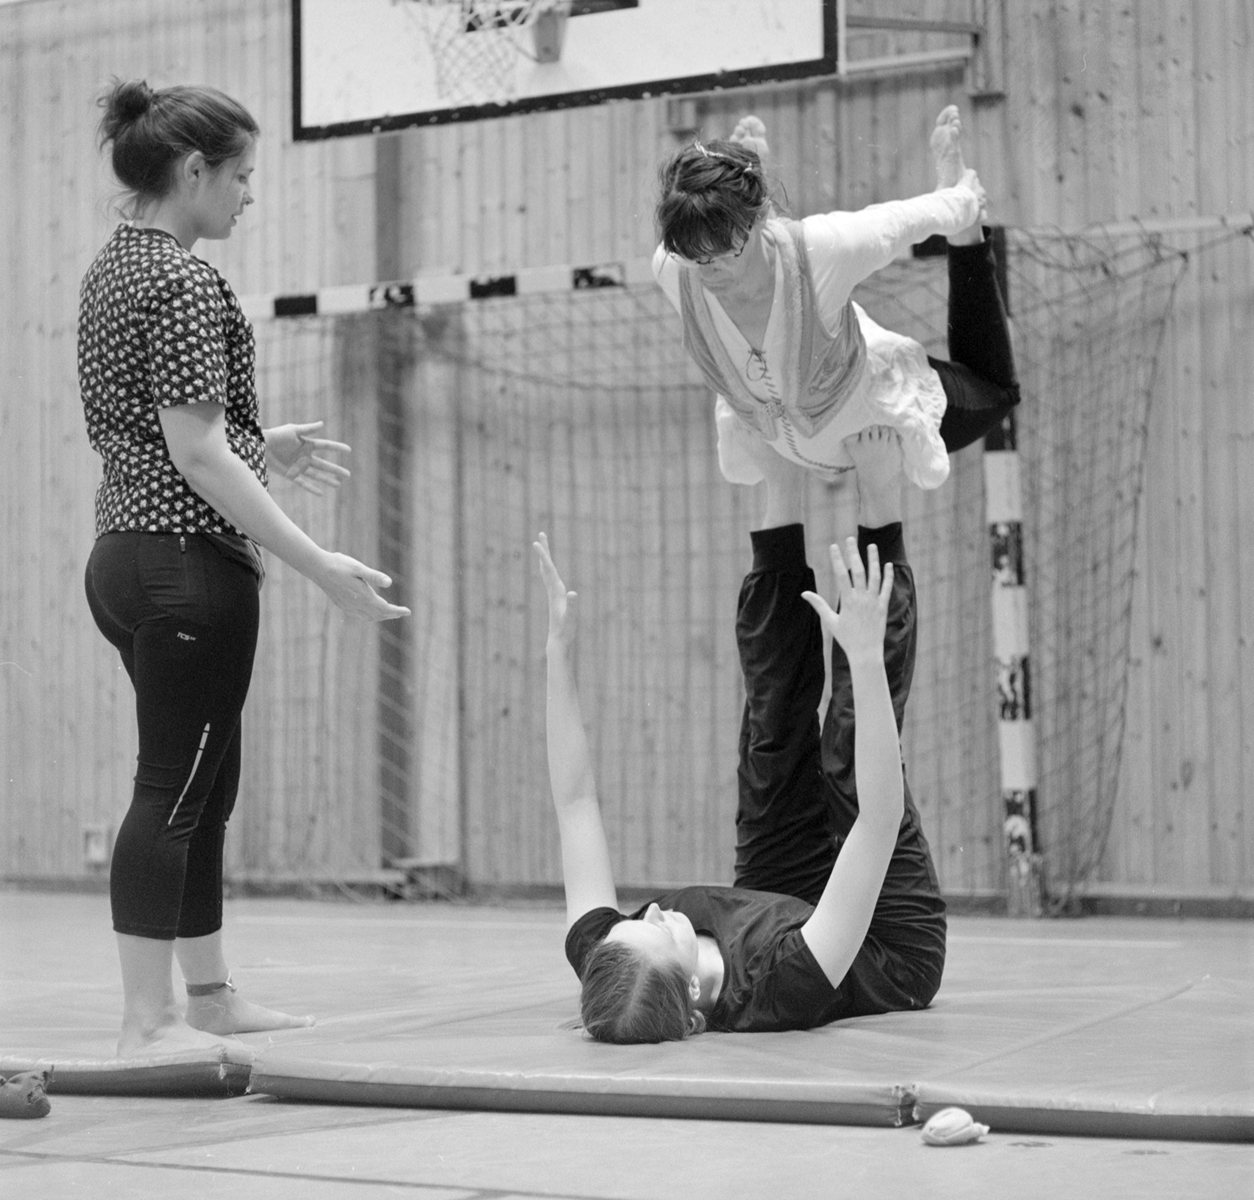
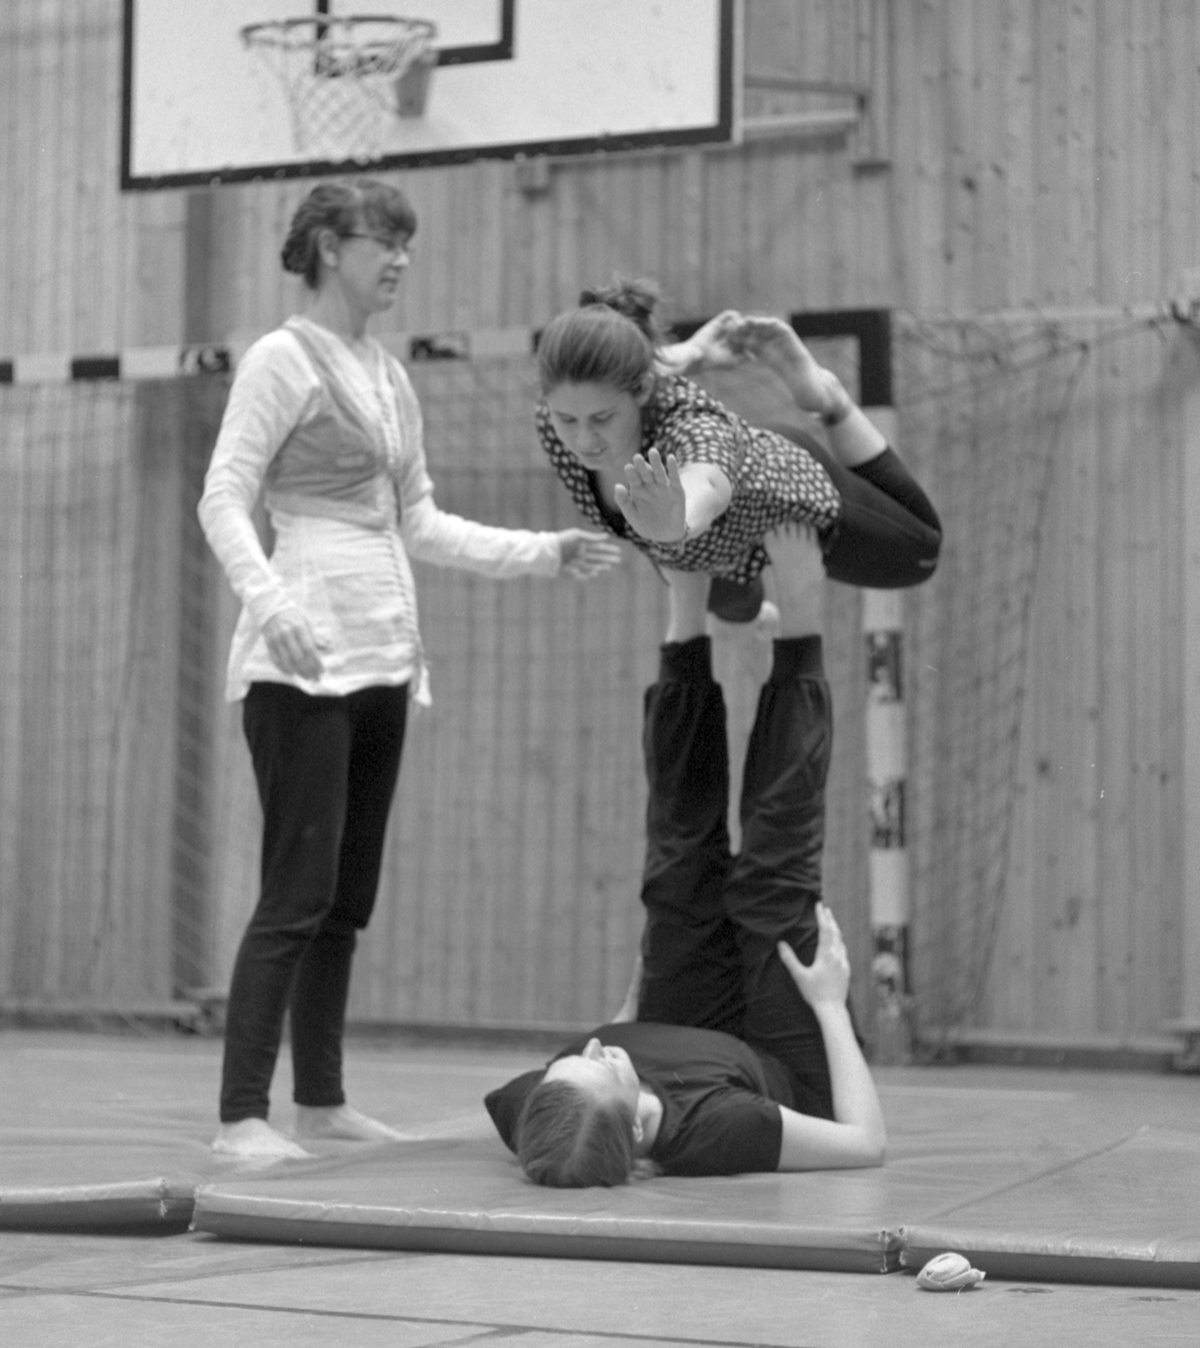
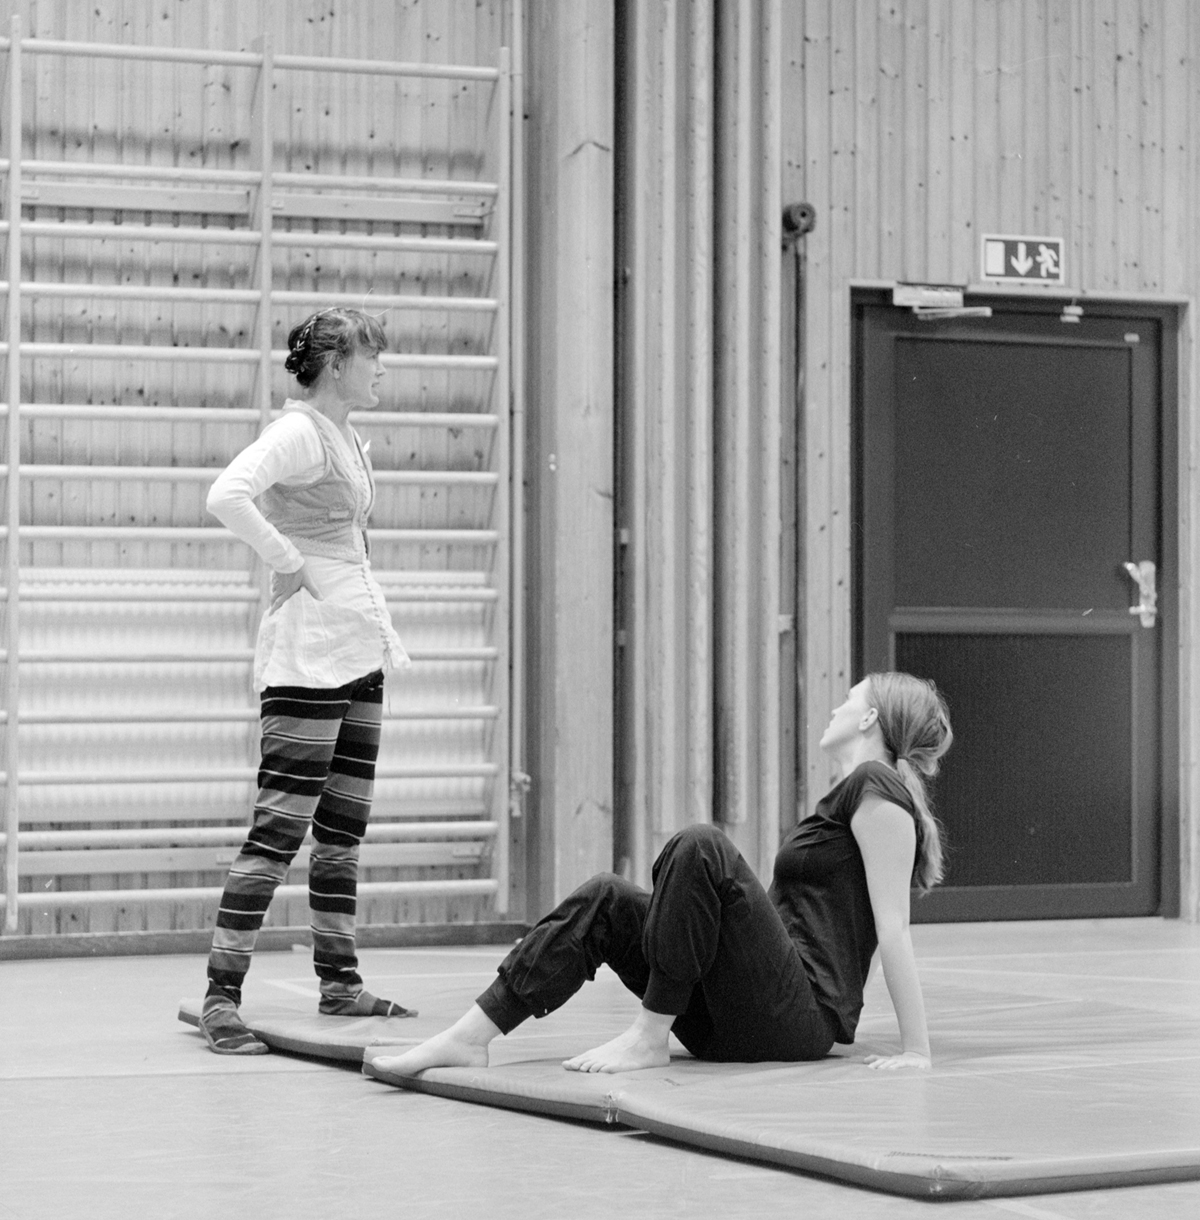
Roll 395 and 396 Return to the Acrobats Part 1
I returned and spent another evening taking pictures of the acrobats I had joined for Roll 347.

Fomapan 400 in HC-110 1+50 for 12min at 20C.
I was thinking I could make some interesting pictures with the very wide 35mm lens on the Mamiya 645 Super. I did, but focusing through the lens in the poor light was very hard, next time I’ll just use the focusing scale on the lens itself.
Fomapan 400 in HC-110 1+50 for 12min at 20C.
For the most part the images came out a bit thin, but with nice detail in the florescent lights. Again I underexposed a bit, just like last time.
Fomapan 400 in HC-110 1+50 for 12min at 20C.
Fomapan 400 in HC-110 1+50 for 12min at 20C.
Fomapan 400 in HC-110 1+50 for 12min at 20C.
Fomapan 400 in HC-110 1+50 for 12min at 20C.
Roll 389 – The Rollei ATO 2.1 backing paper issue
Rollei ATO 2.1 is not intended to be used for ordinary photography, but for the reproduction of text and drawings. Grey scales were not a priority, just black and white, with little in between. But it can be used for pictorial photography when coupled with an ordinary developer, like HC-110 which I have been using lately.
Rollei ATO 2.1 @ISO25 in HC-110 1+50 for 12min at 20C.
The local photography club hosted a photowalk around town and I had just gotten some Rollei ATO 2.1 in 120 format, so I thought I’d try it out in the Mamiya C220. I exposed it at ISO25, which was a bit optimistic, but I really wanted to try it right away. I have gotten better results at ISO 6 and ISO 12 in the past.
The pictures came out quite underexposed, but that was not all: The numbers from the backing paper are visible in the pictures. In the picture above there are some clear and visible 4s next to her shoulder, and some 2s to the right of her head.
Rollei ATO 2.1 @ISO25 in HC-110 1+50 for 12min at 20C.
The picture above was the best exposed one on the roll, and here it was easy to hide the issues by adjusting the contrast to let them fall into the shadows. But just being a bright part of the image does not necessarily hide the numbers, in the picture below there are some dots visible on the bricks in the lower left part of the frame.
Rollei ATO 2.1 @ISO25 in HC-110 1+50 for 12min at 20C.
The backing paper should not make an imprint on the film. If it can be seen something went wrong at the manufacturing stage. I have contacted the seller to see what they propose to do about the situation.
It would be nice if it could be resolved, the ATO 2.1 film has a very distinctive look, including very fine grain with lots of detail.
Rollei ATO 2.1 @ISO25 in HC-110 1+50 for 12min at 20C.
Roll 386 and 388 – SCA picnic

Fomapan 100 Professional in HC-110 for 12min at 20C.

Fomapan 100 Professional in HC-110 for 12min at 20C.

Fomapan 100 Professional in HC-110 for 12min at 20C.

Shanghai GP3 @ISO200 in HC-110 for 20min at 20C.

Shanghai GP3 @ISO200 in HC-110 for 20min at 20C.

Shanghai GP3 @ISO200 in HC-110 for 20min at 20C.

Shanghai GP3 @ISO200 in HC-110 for 20min at 20C.
The assistant did some investigation on her own.

Shanghai GP3 @ISO200 in HC-110 for 20min at 20C.

Shanghai GP3 @ISO200 in HC-110 for 20min at 20C.
Roll 385 – Mamiya 645 Super
I stumbled across a Mamiya 645 Super that came with a Mamiya Sekor 35mm f3.5 lens. And as I have been wanting a really wide lens for a long time I picked it up.

Fomapan 100 Professional at ISO 200 in HC-110 1+50 for 12min at 20C.
The picture above is a crop to get the panoramic format, with 15 shots per roll of 120 film I think it is a nice option.

Fomapan 100 Professional at ISO 200 in HC-110 1+50 for 12min at 20C.
The camera didn’t come with a grip, so the ergonomics for hand held photography are not outstanding, but it is workable. And the lens lived up to my rather high expectations.

Fomapan 100 Professional at ISO 200 in HC-110 1+50 for 12min at 20C.
Roll 381-383 The last business trip
I went on one last business trip before wrapping up my last project with a customer that I’ve been working with on and off for over 12 years.

Rollei Retro 400S in HC-110 1+50 for 12 min at 20C.
I packed the Mamiya C220 and a couple of rolls of Rollei Retro 400S and some Fomapan 100 Professional.

Rollei Retro 400S in HC-110 1+50 for 12 min at 20C.
And while I waited at airports I took pictures.

Rollei Retro 400S in HC-110 1+50 for 12 min at 20C.
And I managed to squeeze in a quick walk in the harbor between two meetings.

Fomapan 100 Professional in HC-110 1+50 for 12 min at 20C.
All in all it was a pleasant trip, and I got to shoot some film.

Fomapan 100 Professional in HC-110 1+50 for 12 min at 20C.
On my way home the flight was delayed, so I got an extra hour to wander the terminal. One nice thing with having the camera with you is that delayed flights become opportunities rather than disappointments.

Fomapan 100 Professional in HC-110 1+50 for 12 min at 20C.
The Mamiya C220 is a bit heavier and quite a bit larger than the Yashica C that I usually take on trips. A nicer camera for sure, but I think that the convenience of the Yashica C will win me over next time I pack my bag.

Fomapan 100 Professional in HC-110 1+50 for 12 min at 20C.
Undead toys
Christoffer, who has the blog U Shall Paint!, came by last Sunday. He brought some miniature monsters for wargaming, and we spent the afternoon experimenting with photography and light painting.

AGFA Curix X-Ray film in HC-110 1+50 for 10 min.
I made six exposures on X-Ray film, and these two were the ones that came out the best. In the picture below I used the fog-effect I had tried earlier. Now combined with a long snoot on a flashlight to paint something like a pillar of light around the main piece in the setup.

AGFA Curix X-Ray film in HC-110 1+50 for 10 min.
In general the negatives were even more scratched that usual, the cloning tool in Photoshop was used a lot to get these clean results.
Toys in fog
I have invited a friend who likes to paint miniatures for wargames to come over and see if we could take some cool pictures. In anticipation of his visit I thought I’d give it a go to iron out the worst problems in the method beforehand. Since a game auction at a convention a couple of years back I had some MechWarrior toys sitting in a plastic bag, so I took a couple of those, draped a bed sheet over some boxes by the window and assembled the new Calumet large format camera again.

AGFA Curix X-Ray film in HC-110 1+50 for 12min.
In the picture above I shine a flashlight into the scene from behind to make a sort of cave-entrance like effect in the picture.
In the picture below I waved a grey sheet around in the scene during the 30 second exposure to create a mist/smoke like effect.

AGFA Curix X-Ray film in HC-110 1+50 for 12min.
Below is a small detail from one picture out of the series. My friend’s miniatures have more fine details and are much nicer painted. I think we will be able to make some very cool images.

AGFA Curix X-Ray film in HC-110 1+50 for 12min.
Roll 372-376 The medieval festival
This year my vacation coincided with the annual medieval festival.

Rollei Retro 400S in HC-110 1+50 for 12min at 20C,
I had planned to bring a large format camera there and make some portraits. But I couldn’t find a dog sitter. Keeping an eye on the dog in a crowd with my head buried deep under the focusing cloth is impossible, so I changed my plan and packed the Pentacon Six with the massive Jupiter 36 lens, a 250mm f3.5 lens from the old USSR. Together with the prism finder it is the heaviest camera intended for handheld photography I have.

Rollei Retro 400S in HC-110 1+50 for 12min at 20C,
The weather was horrible, all bright, sunny and warm. But if things were going to be bright I could just as well take advantage of it and shoot a setup that would push me into 1/500 and 1/1000 shutter speeds.

Rollei Retro 400S in HC-110 1+50 for 12min at 20C,
It seems the aperture automation doesn’t really sync up between the Pentacon Six and the Jupiter lens. Considering that the lens was made for a different camera it wasn’t very surprising. But it caused me enough problems during the day that I’ll see if I can disable it in the lens and use it as a fully manual lens in the future.

Rollei Retro 400S in HC-110 1+50 for 12min at 20C,

Rollei Retro 400S in HC-110 1+50 for 12min at 20C,

Rollei Retro 400S in HC-110 1+50 for 12min at 20C,

Rollei Retro 400S in HC-110 1+50 for 12min at 20C,

Rollei Retro 400S in HC-110 1+50 for 12min at 20C,

Rollei Retro 400S in HC-110 1+50 for 12min at 20C,

Rollei Retro 400S in HC-110 1+50 for 12min at 20C,

Rollei Retro 400S in HC-110 1+50 for 10min at 20C,

Rollei Retro 400S in HC-110 1+50 for 12min at 20C,
